
To configure a PLDT router, we usually use the router’s administrative web interface. The admin web interface is a graphical user interface used for changing the router’s configuration. Although there is another way to change the router’s settings (through text-based Telnet command), using its web interface is pretty much easier.
Account Names Needed to Configure a PLDT Router
PLDT routers use two different account names for configuration purposes. The first account uses the username “admin” while the second one uses the username “adminpldt. The “admin” account is limited to changing the configuration of the wireless LAN. That is, changing the wifi names (also called WLAN SSID names) and their corresponding passphrases or passwords. On the other hand, the account with the username “adminpldt” is very powerful. It has access to a large set of options for changing the router’s configuration. Because it can change settings that are vital to the router’s proper operation, the account is disabled by default. The reason, clearly, is to prevent users from inadvertently mis-configuring the router. This could lead to the router’s malfunction or worst, to a total break down of the router.
In this article, How to Configure a PLDT Router, we will use the real administrative account, the account with the username “adminpldt”. If you need to configure the wireless LAN only, you may use the limited account “admin” account.
Please see: How to Configure a PLDT Router Using the “admin” Account.
This article was written using the PLDT Home Fibr router model AN5506-04. However, the information here should also apply to most of PLDT’s fiber routers.
Enabling the Admin Account Needed to Configure a PLDT Router
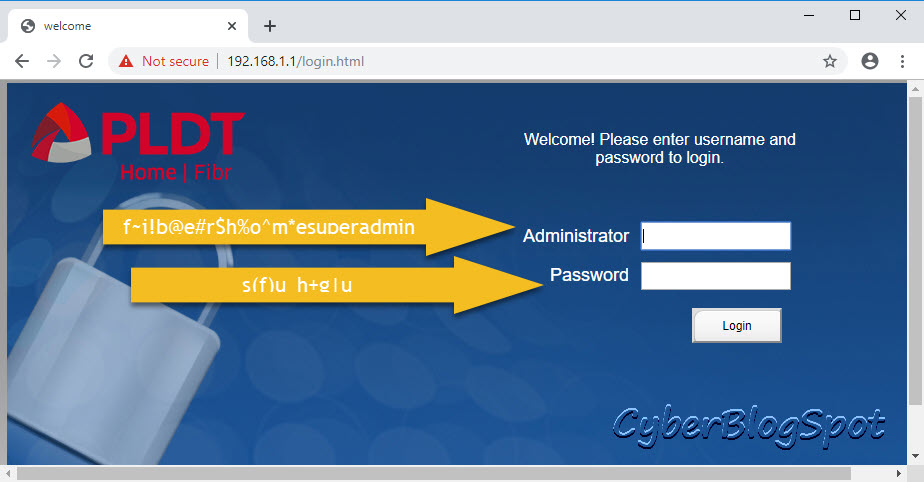
As stated above, the admin account with the username “adminpldt” is disabled by default. To enable it, we need to log in using a super admin account. Below is the information we need to log in as a super user.
IP Address: https://192.168.1.1/fh
Username: f~i!b@e#r$h%o^m*esuperadmin
Password: s(f)u_h+g|u
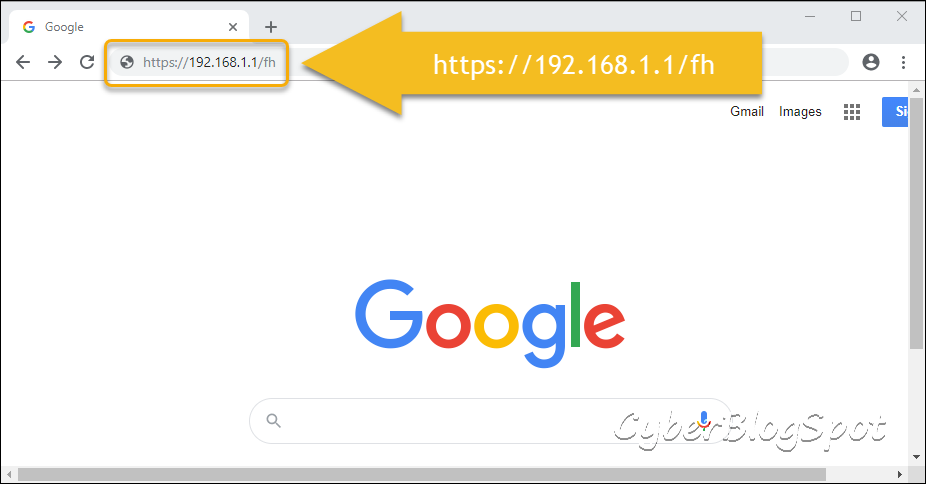
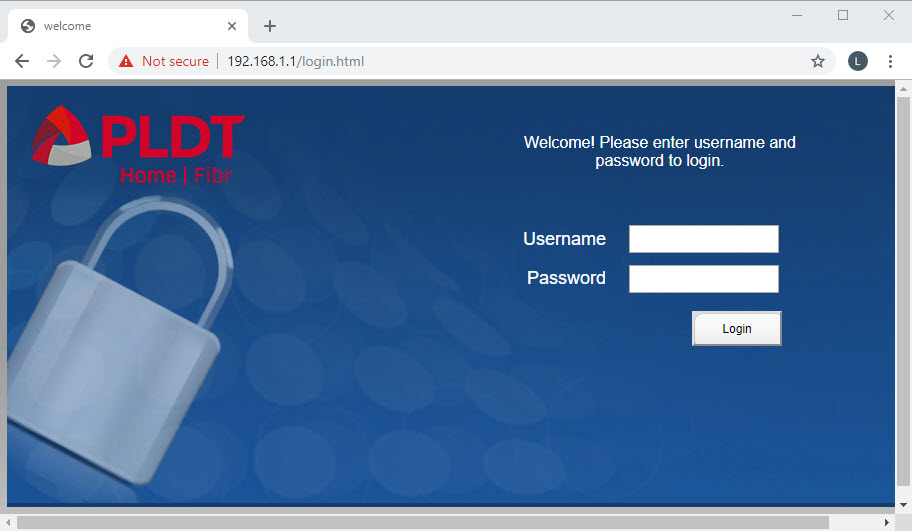
Step 1
Open your internet browser. On the address bar, type the IP address of https://192.168.1.1/fh. Then, press the “enter key”.
Step 2
Type in or copy and paste the Username and Password as shown above, f~i!b@e#r$h%o^m*esuperadmin and s(f)u_h+g|u respectively. Then, click the “Login” button.
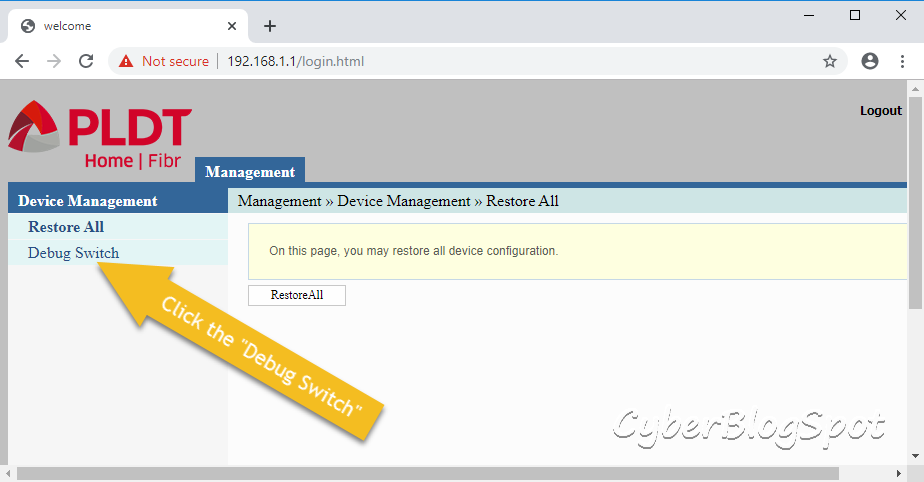
Step 3
Under the Device Management menu, click the “Debug Switch”.
Step 4
- Enable the “Web Admin Switch” by clicking the radio button labelled “Enable”. Then click the “Apply” button beneath the radio button.
- Optionally, also enable the “Telnet Switch” by the same procedure. Click the “Telnet Switch” radio button, and then click the “Apply” button below it.
By enabling the TELNET SWITCH, you can recover your router’s passwords (both user and admin passwords) if you ever forget them after setting them to their new values. See: How to Recover PLDT Admin Password by Using Telnet.
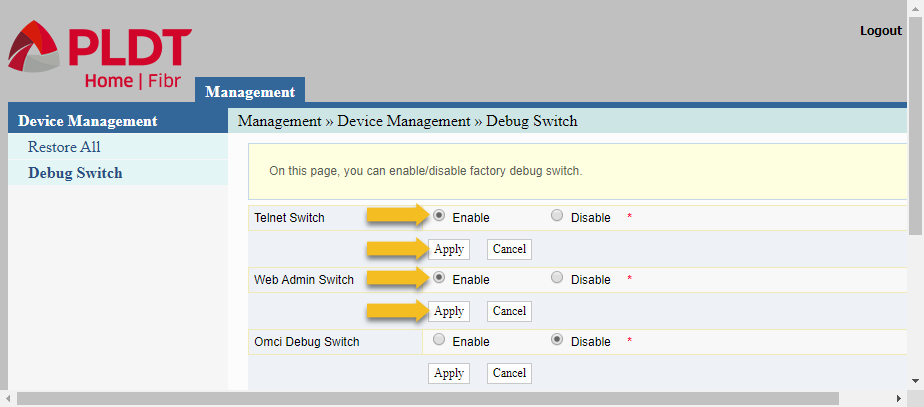
Finally, click “Logout” at the upper right portion of the web interface.
Step 5
After enabling the admin account, we can now log in using the username “adminpldt”. Use the information below.
IP Address: https://192.168.1.1/fh
Username: adminpldt
Password: z6dUABtl270qRxt7a2uGTiw
After logging in as “adminpldt” using the provided password above and you receive a message “Username or Password Error!”, this indicates that the password for the “adminpldt” account has been set to a different password. In this case, you have two (2) options. One is reset the router to its default factory configuration. The other option is to use Telnet to retrieve the currently set password for the “adminpldt” account. See How to Use Telnet to Recover PLDT Router Passwords.
How to Reset PLDT Router to its Default Factory Configuration
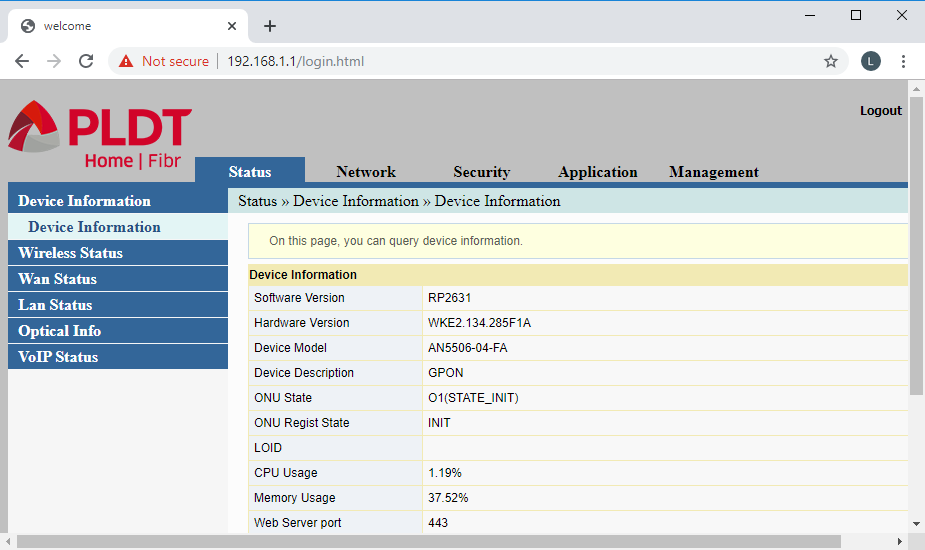
After a successful login, the main menu of the router’s web interface should be displayed as depicted in the screenshot below.
What will follow is a detailed explanation on the different status information and configuration options that can be changed to configure a PLDT router.
Main Menu to Configure a PLDT Router
Table of Contents (PLDT Router’s Web Interface)
The PLDT Router’s Web Interface Main Menu
The Main Menu consists of the items Status, Network, Security, Applications, and Management.
The Status contains information regarding the operating status of the router. Most information included here are indispensable for troubleshooting purposes. For example the Wan Status will show you if your router is connected to the Internet. Also, the Wireless status shows the devices (PC, laptops, smartphones, etc.) wirelessly connected to the router.
The Network page is where the wireless LAN or Wi-fi is configured. It enables you to change the wifi names and passwords. It is also here where the Local Area Network is setup.
Under Security is the Firewall setup. Most of the configurations here have something to do with the network’s protection. Also included here are access control mechanisms like MAC filtering and Parental Control.
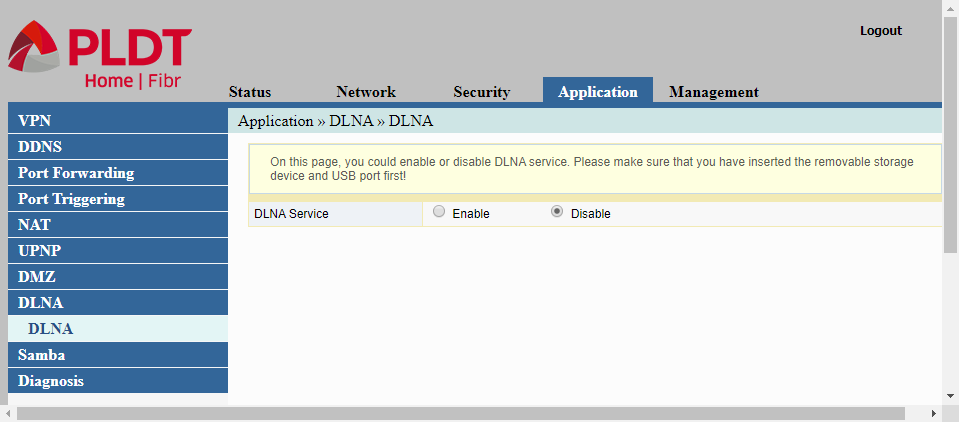
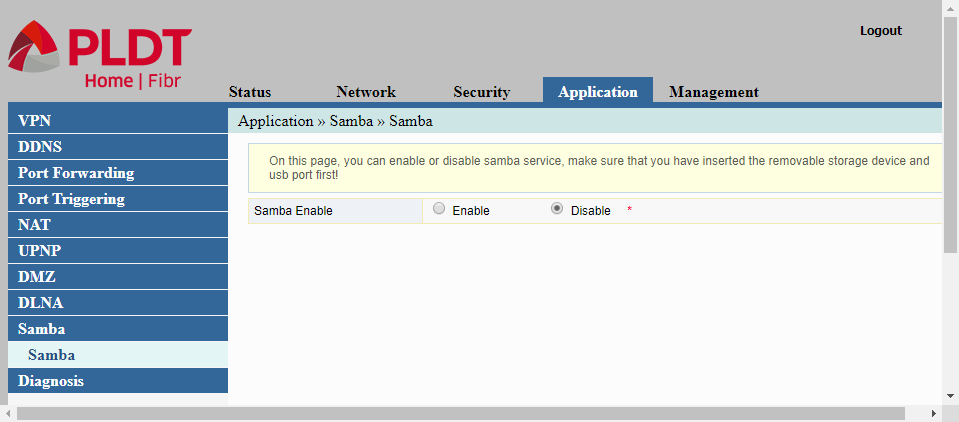
The Application menu item includes VPN Passthrough, DDNS, Port Forwarding, Port Triggering, NAT, UPNP, DMZ, DLNA, Samba, and Diagnosis.
In Management, we can change the passwords for the user and admin accounts of the router. We may also save the router’s configuration to a file in the Device Management. We may also view the log file here.
Status (Device Information)
Under the Status (Device Information) menu item are the Device Information, Wireless Status, Wan Status, Lan Status, Optical Info, and the VoIP Status.
Notable information under Device Information are the router’s device model, hardware version, and the installed firmware version (software version). Also included are the current CPU and Memory utilization of the router.
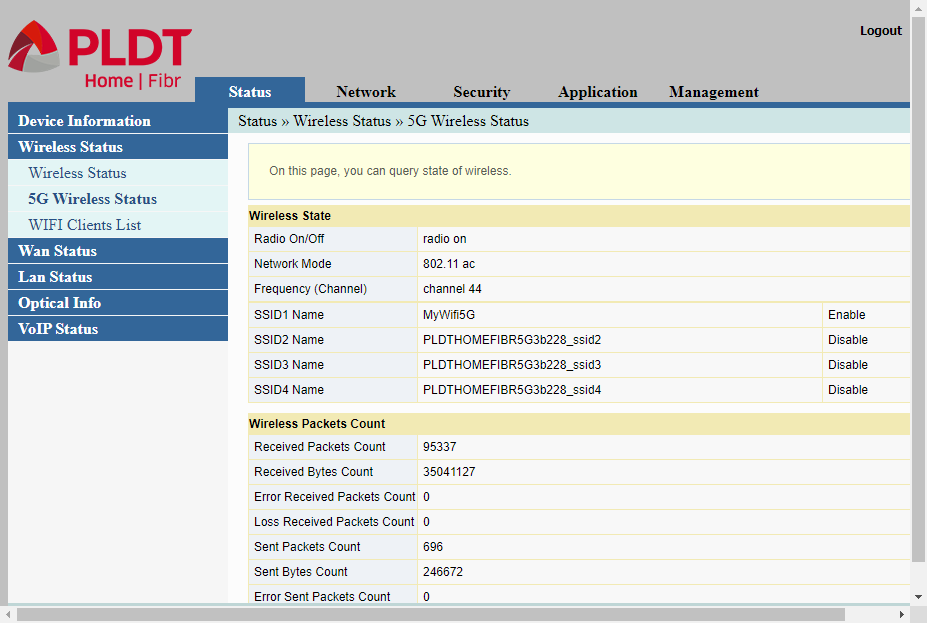
Wireless Status
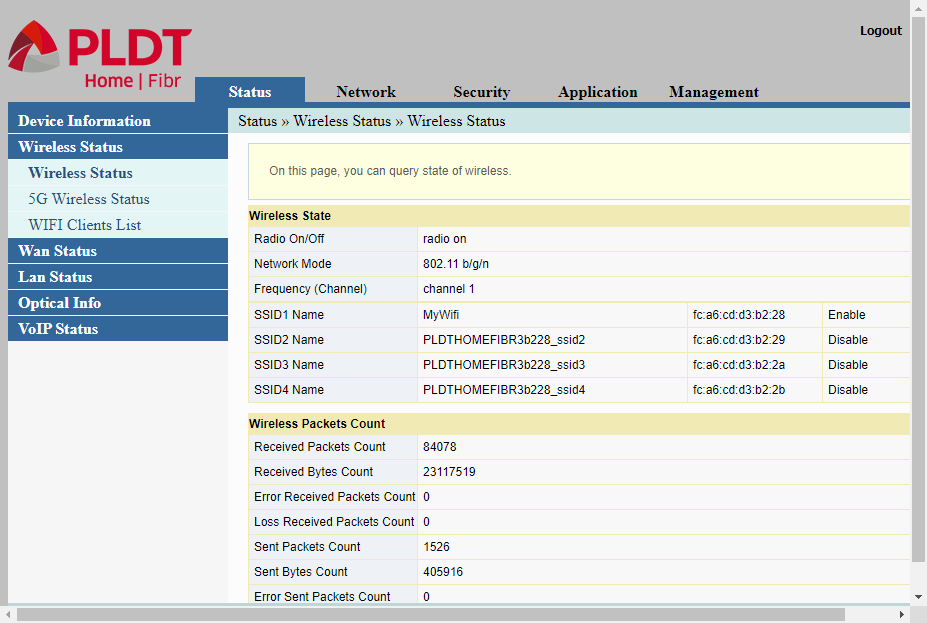
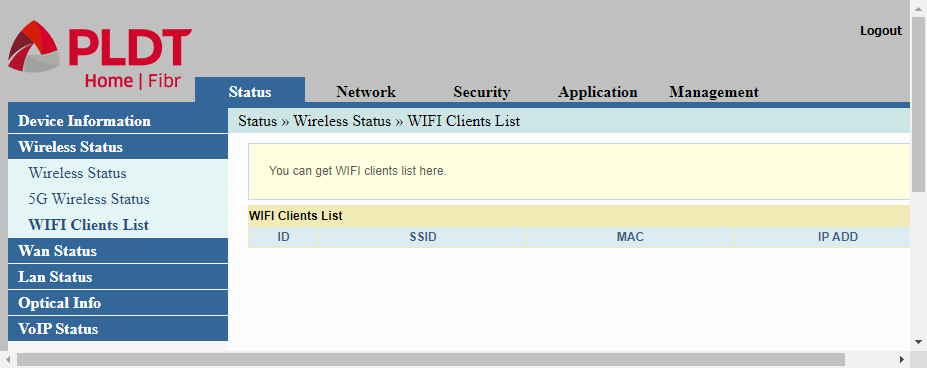
The Wireless Status contains three (3) sub-menu items, Wireless Status, 5G Wireless Status, and WIFI Clients.
The PLDT router uses a dual band Wireless LAN (wi-fi) radio. That means it uses two radio frequencies, the standard 2.4 Ghz frequency and the newer 5 Ghz frequency.
The first item in the sub-menu, the Wireless Status ( I think this sub-menu item should have been named 2.4G Wireless Status), refers to the 2.4 Ghz radio band.
The second item in the sub-menu, the 5G Wireless Status (aptly called) displays the status of the second radio band, the 5Ghz band.
The last item of the sub-menu which is WIFI Clients will show any device connected to either wireless radio band. Any device such as a desktop PC, a laptop, or a smartphone that is connected to the wifi will be shown here.
5G Wireless Status
Wifi Clients List
Wan Status

The Wan Status will show the router’s connection to the internet service provider (ISP).
Lan Status
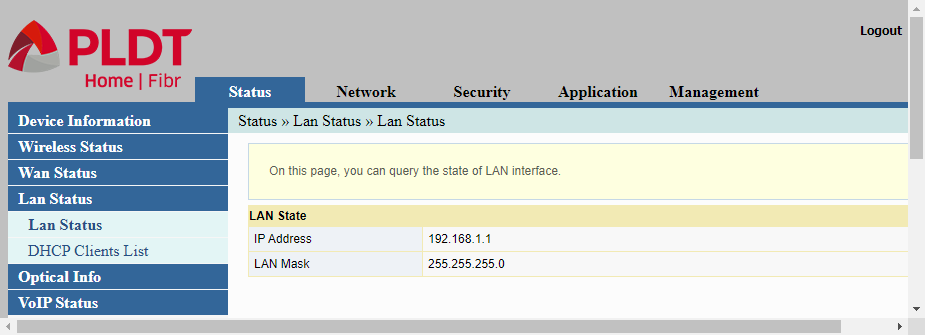
The LAN Status has two (2) sub-menu items, LAN Status and DHCP Client List.The LAN Status shows the IP address of the router. This is one of the most important information because the IP address shown here is the IP address that is used in order to access the router’s web interface. This is also the IP address of the DHCP server if it is being implemented. And this is also the IP address of the Default Gateway.
DHCP Clients List
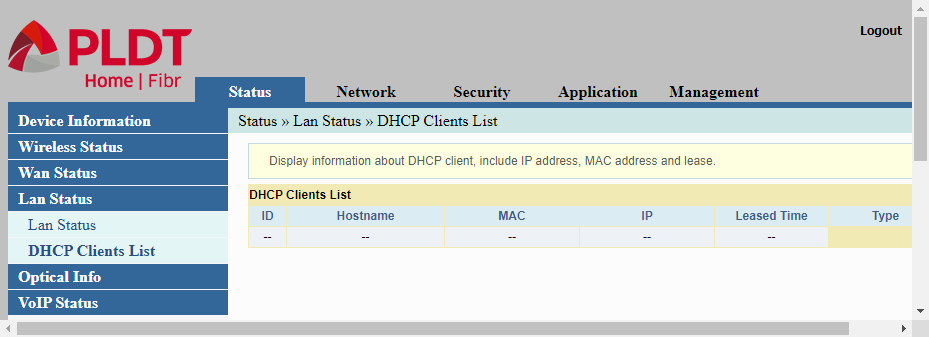
The router has the facility to act as a DHCP server. DHCP stands for Dynamic Host Configuration Protocol. Any device (PC, laptop, smartphone, etc.) that wishes to connect to the router needs to be assigned a host IP address. At the same time, the connecting device or host must know the IP address of the router it is connecting to. And lastly, the connecting device must also be provided the IP address of the DNS server. It is the job of the DHCP server to provide all this information to the connecting host or device. In essence, it dynamically configures the host so it can connect to the router.As the DHCP server hands out IP addresses to connecting devices, the IP addresses handed out to the clients will be shown in the “DHCP Client” list.
Optical Info
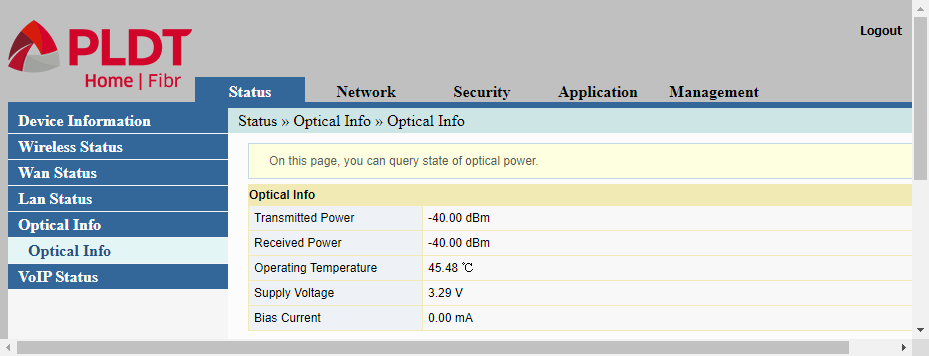
The Optical Info under the Status menu item shows the optical characteristics of the router.
VoIP Status

The VoIP Status will show the status of any connected telephone set. VoIP, which means Voice Over Internet Protocol, is a new way of transmitting voice – over the internet.
Network
The Network page of the web interface is one of the most important configuration pages needed to configure a PLDT router. This is where the LAN (Local Area Network) is configured, including the wireless LAN.
Wlan Settings
The Network (Wlan Settings) menu contains six (6) sub-menu items, all for changing the settings of the wireless LAN. The sub-menu items are Basic, Advanced, 5G Basic, 5G Advanced, an the 5G WPS.
Basic
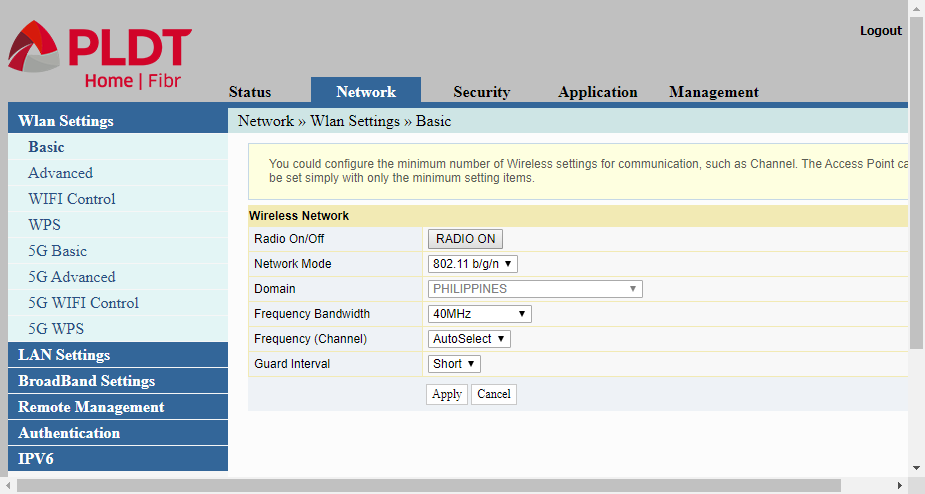
The Basic item actually refers to the first radio band of the router’s dual band wi-fi radio. The setting here affects the 2.4Ghz frequency band only. Settings that can be changed here include changing Network Mode, the Frequency Bandwidth, the Channel Number, and the Guard Interval.
Advanced

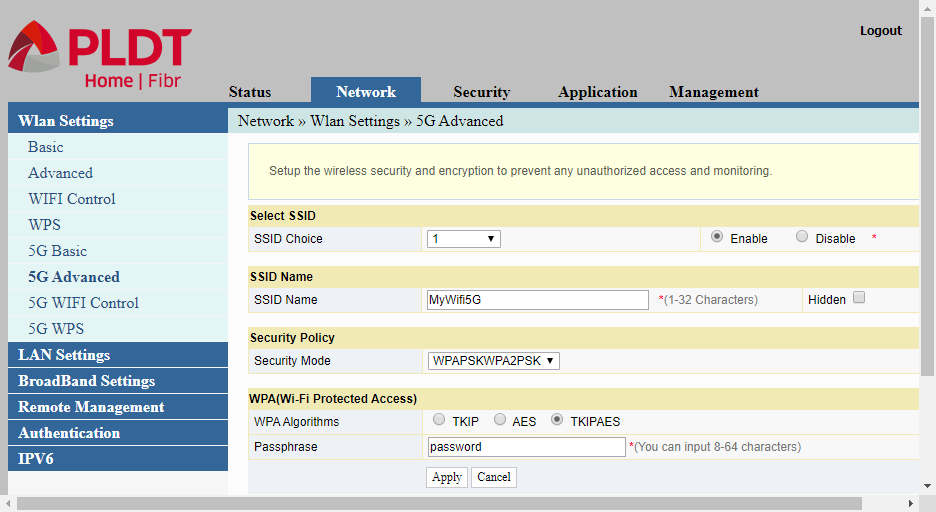
The Advanced item is actually the second page or continuation of the preceding page, the Basic item shown above. This Advanced setting also refer to the 2.4Ghz wi-fi band.This sub-menu item is one of the most important configuration options. It is here where the wi-fi name or the WLAN SSID name of wireless network is changed. This is also where the Passphrase or the password of the wireless LAN is changed. Optionally, you may change the Security Mode of the WLAN.
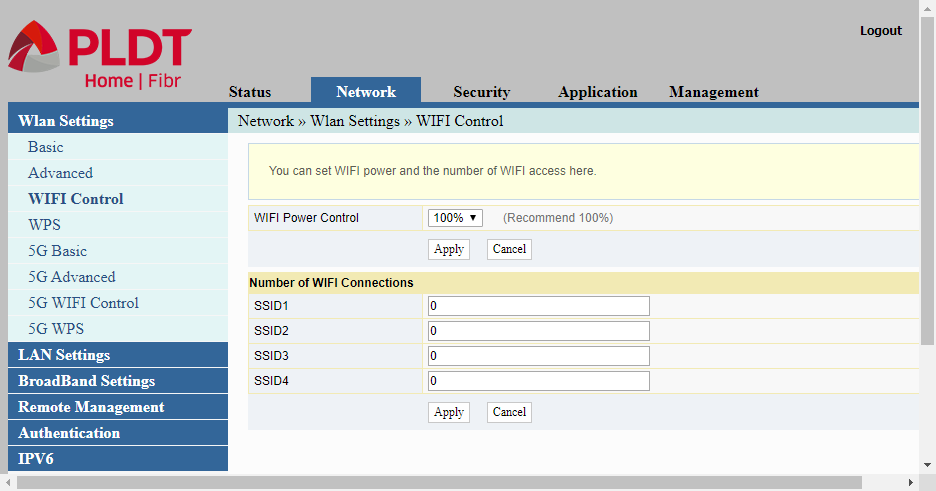
WIFI Control
WPS
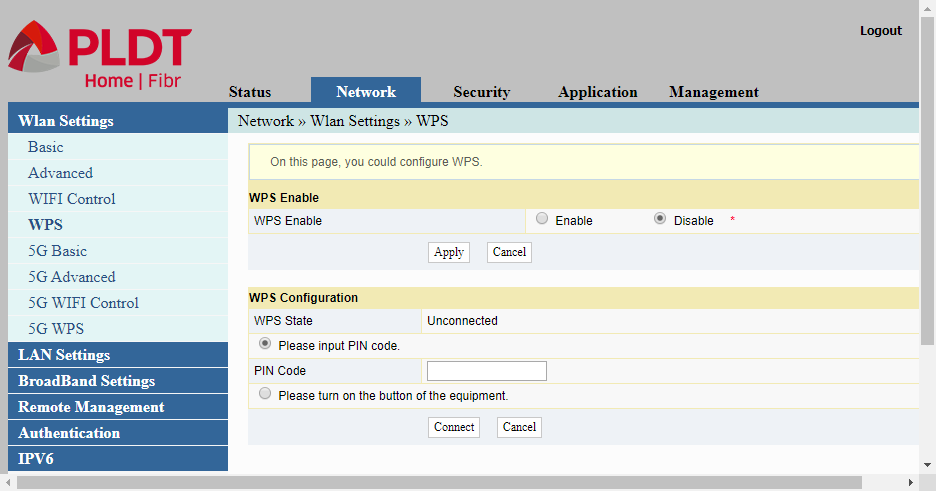
WPS is the third and final page for configuring the 2.4Ghz band wi-fi radio. WPS stands for Wi-fi Protected Setup. It is an automated way of connecting devices to the router without providing the SSID name and the passphrase or the password.
5G Basic

5G Advanced
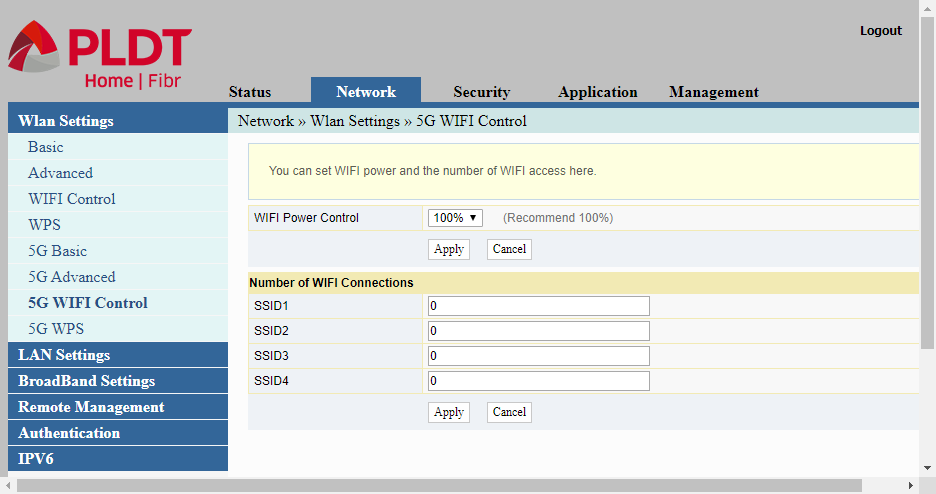
5G WIFI Control
5G WPS

LAN Settings

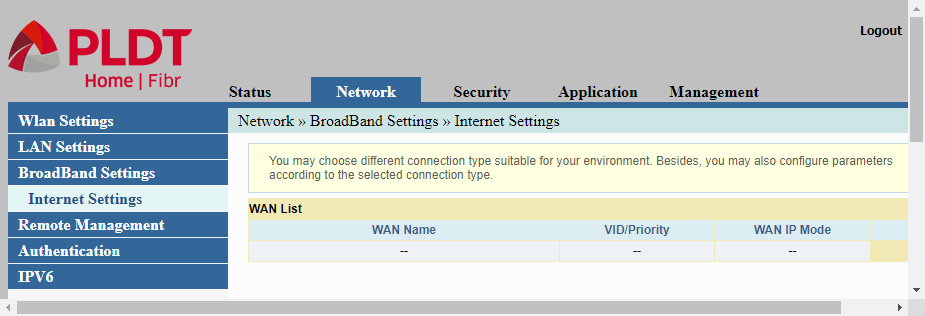
BroadBand Settings
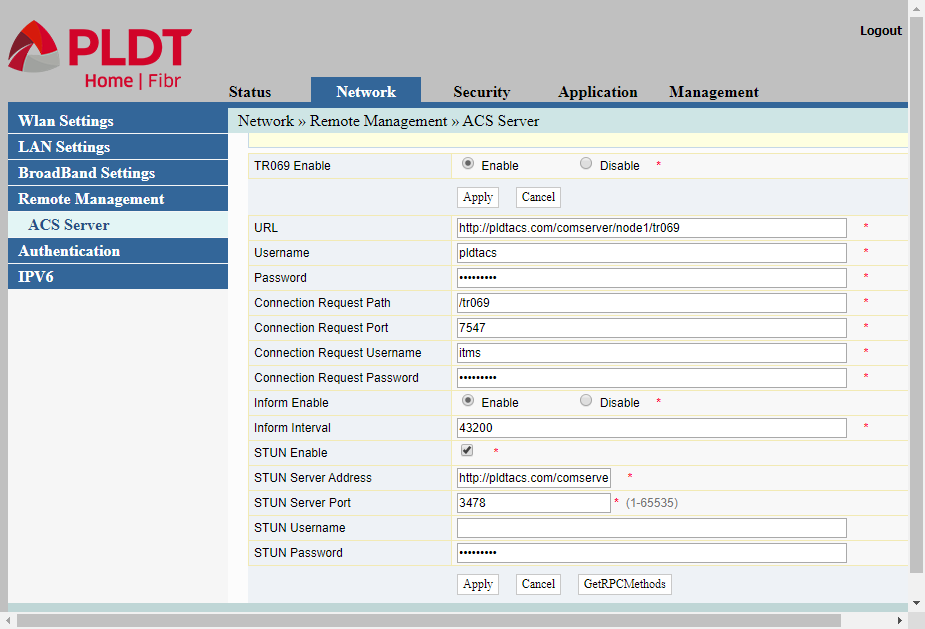
Remote Management
Authentication

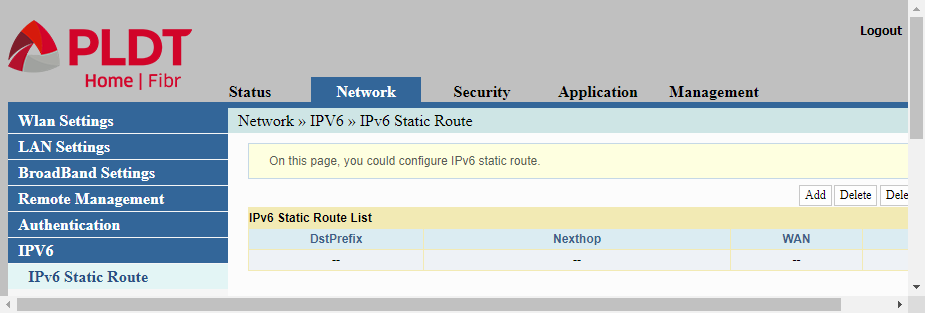
IPV6
Security
Firewall
Firewall Control
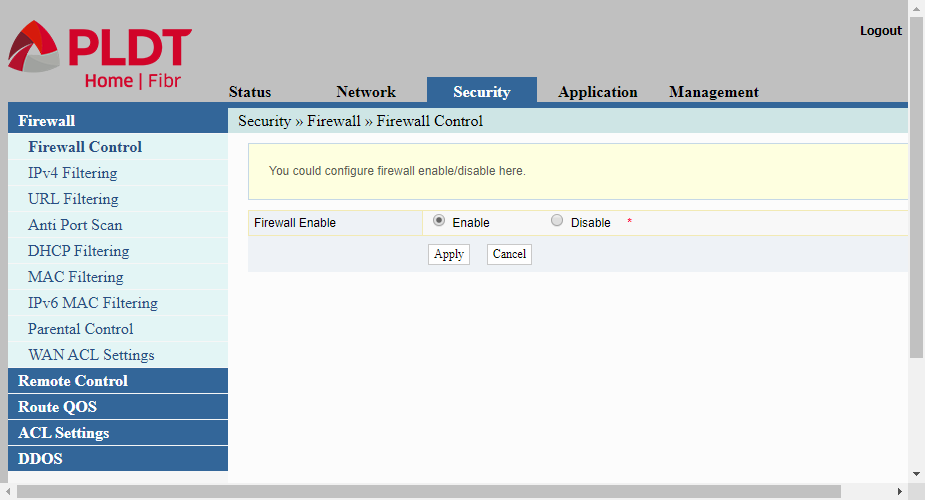
Firewall Control is the page where we can enable or disable the router’s firewall. A firewall is a security protection against malicious programs coming from the internet. The router’s firewall is enabled by default to serve as the first layer of protection against attacks emanating from the Internet.
IPv4 Filtering
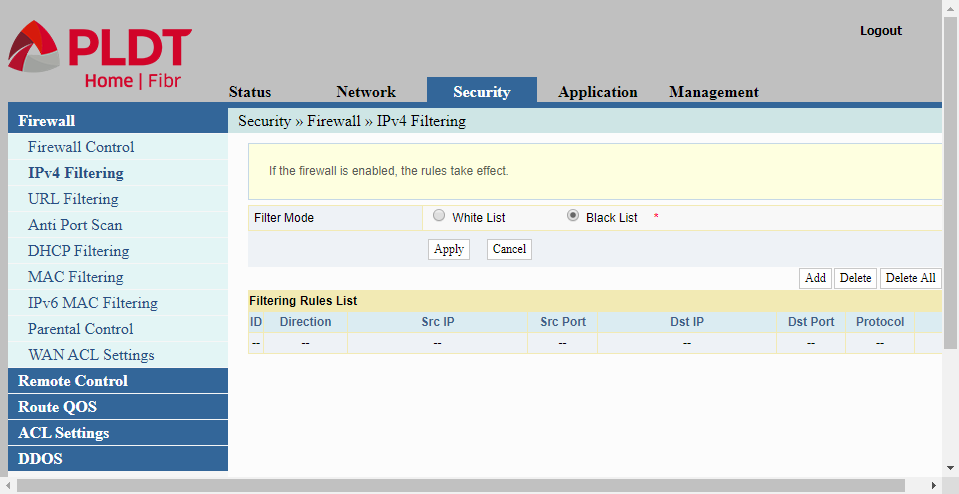
IPv4 Filtering provides a way to create filtering rules, whether to allow or discard a certain network traffic. The filter mode can be set to either a White List, where a network traffic matching the filtering rules is allowed to pass thru the router, or a Black List where the traffic matching the rules are discarded or not allowed to pass thru the router. In IP Filtering, the network traffic’s source IP address, source port, destination IP address, destination port, protocol type, and direction are all verified to match the filtering rules.
URL Filtering
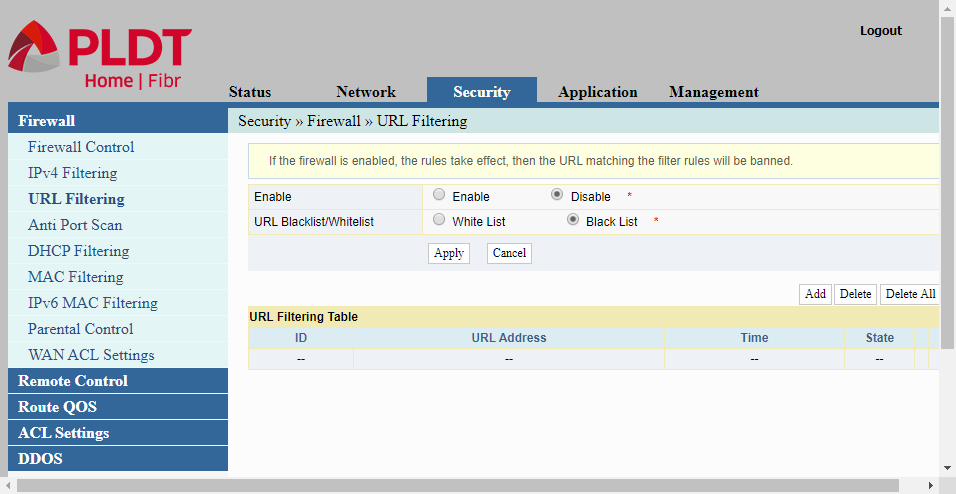
Firewall/URL Filtering allows us to create a list of URL (Uniform Resource Locator) or web addresses that we want to allow or block. In the White List mode, if the network traffic contains a URL specified in the filtering list, the traffic is allowed to pass thru the router. On the other hand, in the Black List mode, such network traffic is discarded or blocked.
Anti Port Scan
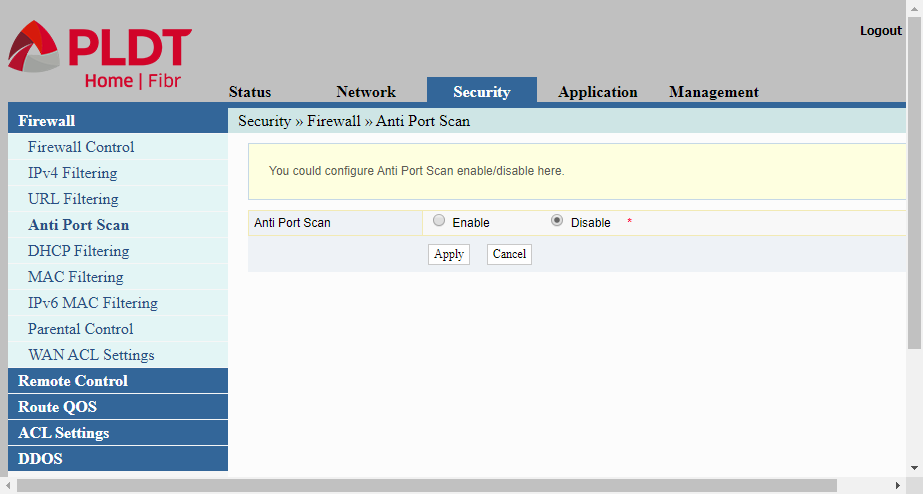
Firewall/Anti Port Scan allows us either enable or disable the Anti Port Scan feature of the router. Malicious attackers usually scan the network for open ports where they can initiate an attack. Enabling the Anti Port Scan should prevent anyone from scanning the network.
DHCP Filtering

Firewall/DHCP Filtering. DHCP means Dynamic Host Configuration Protocol. The router has a DHCP server that hands out IP addresses and provide other pertinent information to devices wishing to connect to the network. Therefore, the DHCP server can be used to filter devices trying to connect to network, either thru LAN or wireless LAN. A Black List, which is a list of devices to be blocked or a White List, which is a list of devices to be allowed, can be created by entering the device’s MAC address.
MAC Filtering
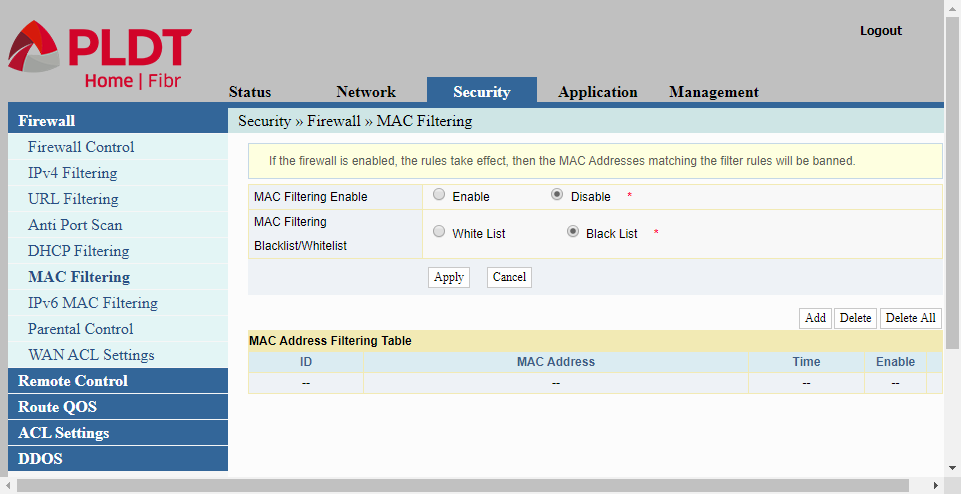
Firewall MAC Filtering. Every network device has a MAC address or Media Access Control address. It is a 12-digit number consisting of six (6) hexadecimal numbers. For example my router’s MAC address is 5C:3C:27:02:B2:88. In MAC filtering, we are allowed to create a list of MAC addresses of devices that are either to be allowed (White List) or blocked (Black List).
IPv6 MAC Filtering

Firewall IPv6 MAC Filtering is similar to MAC Filtering but for IPv6 which is not yet widely used.
Parental Control
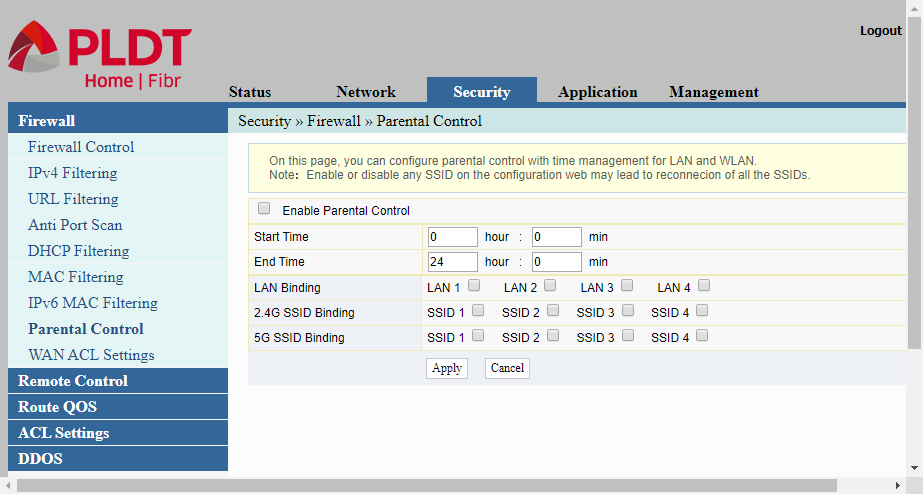
Firewall-Parental Control. The parental control feature of routers are intended to be used for limiting the kid’s use of the Internet during certain times. After enabling the Parental Control by clicking the “Enable Parental Control” button, you can set the starting time and the ending time where access to the internet is allowed. You may choose to configure the four (4) LAN ports at the back of the router and/or any of the wireless LAN channels.
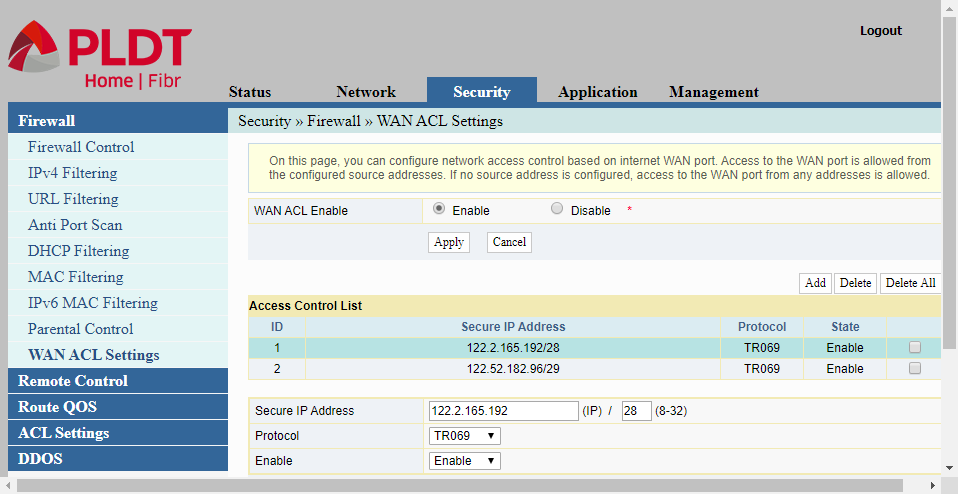
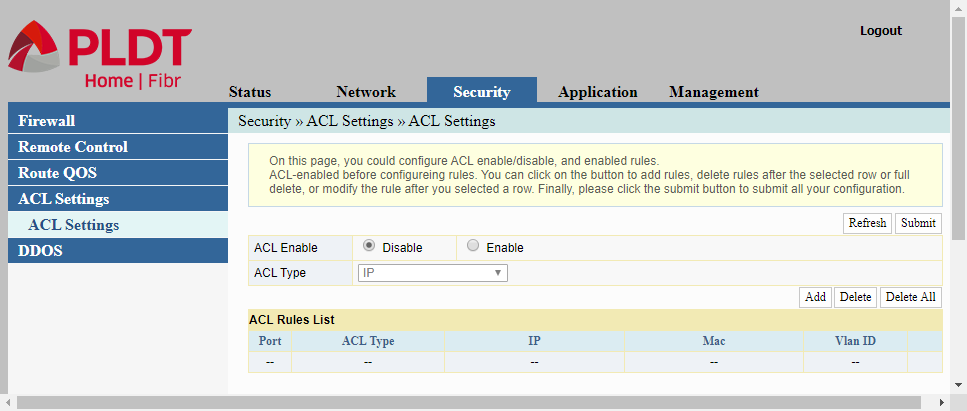
WAN ACL Settings
Remote Control
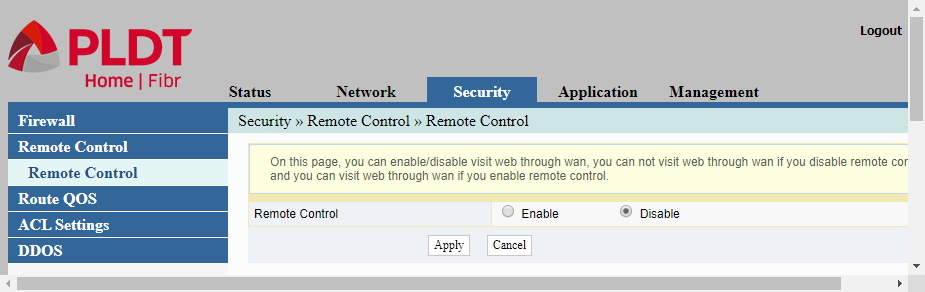
Security-Remote-Control. This page allows us to enable or disable access to the administrative web interface (this admin web interface we are currently discussing) thru the Internet. The usual way of using this admin web interface is thru the LAN (locally), either wired or wirelessly. If you are away from your local area network and you want to access the router’s admin web interface, you can do so thru the internet if this Remote Control featured is enable.
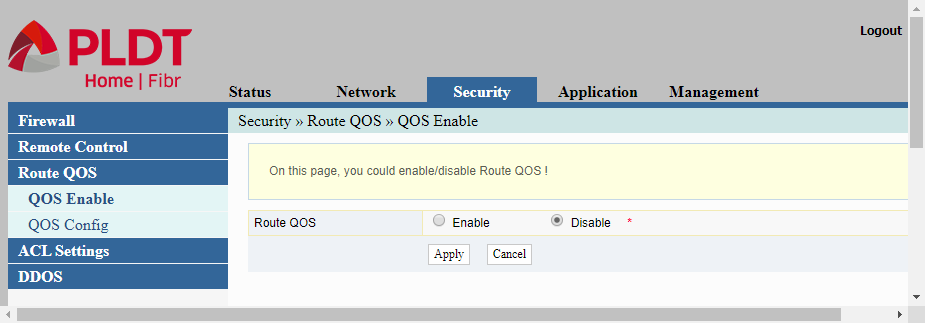
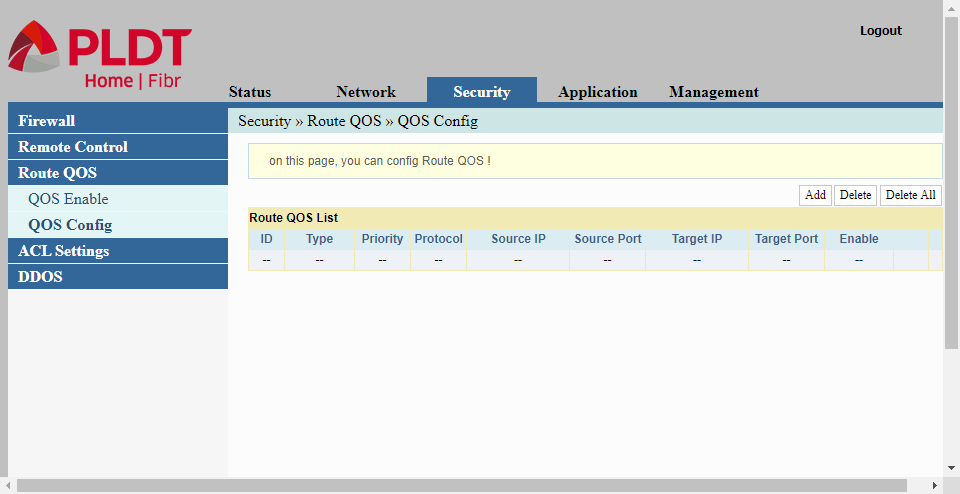
Route QOS
QOS Enable
QOS Config
ACL Settings
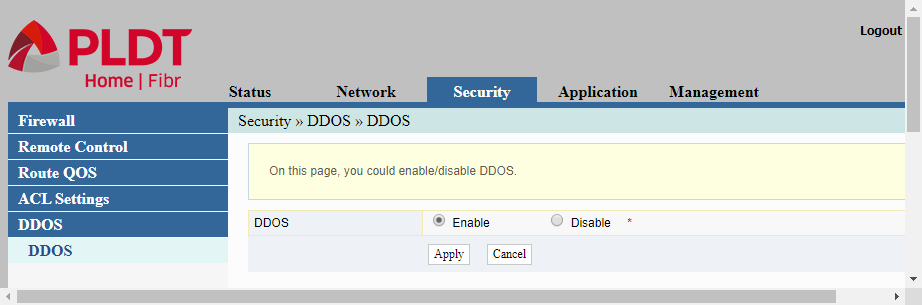
DDos
Application
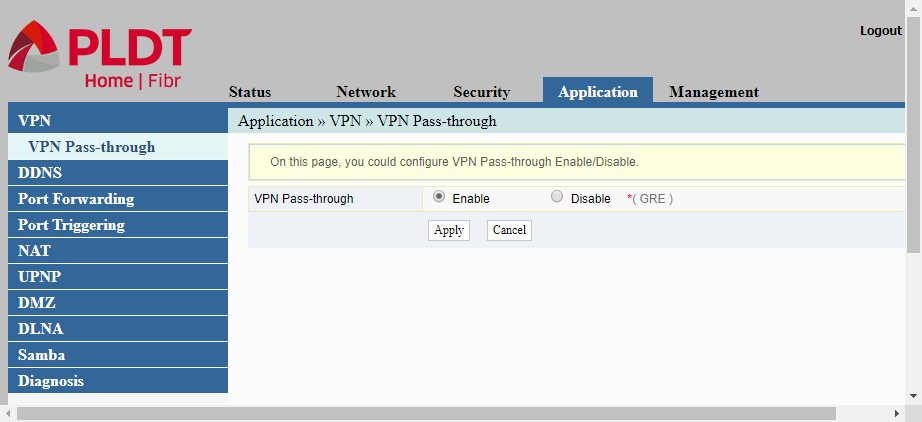
VPN
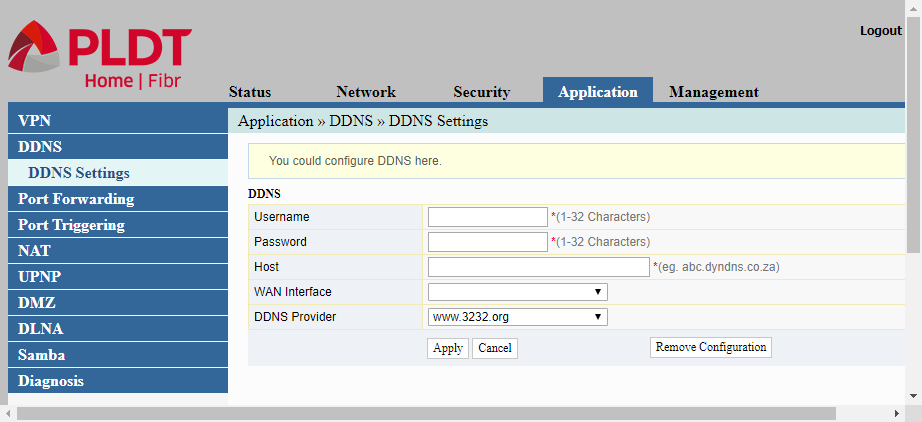
DDNS
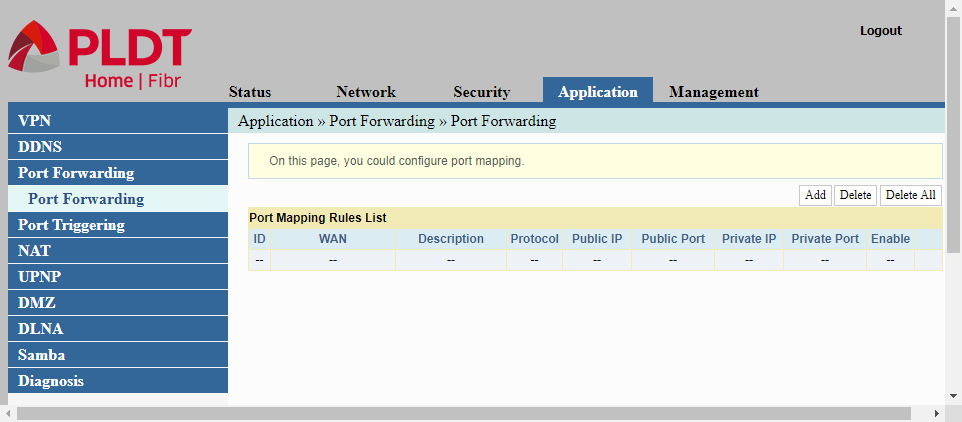
Port Forwarding
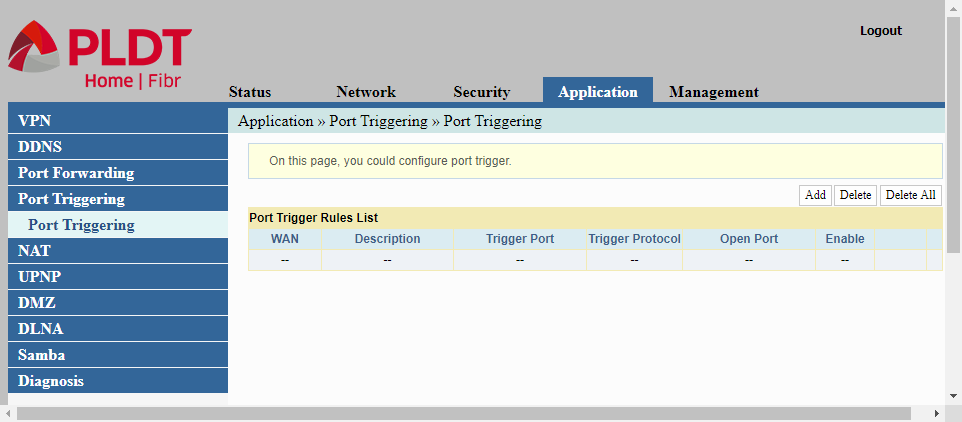
Port Triggering
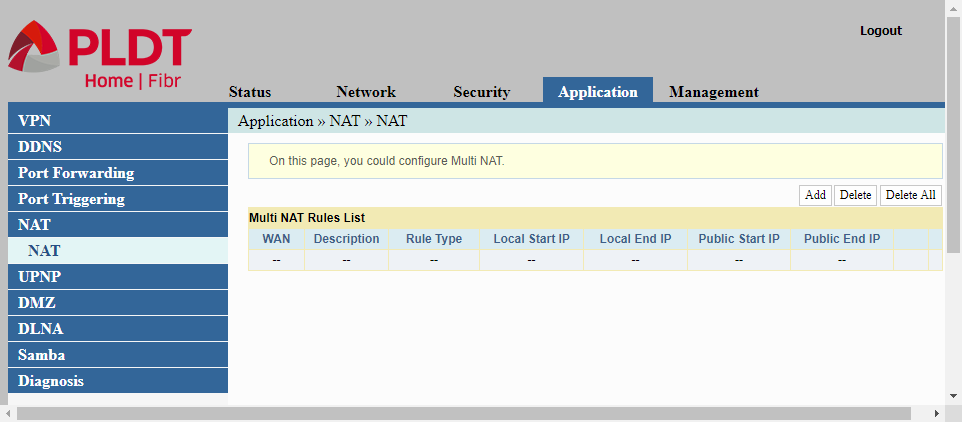
NAT
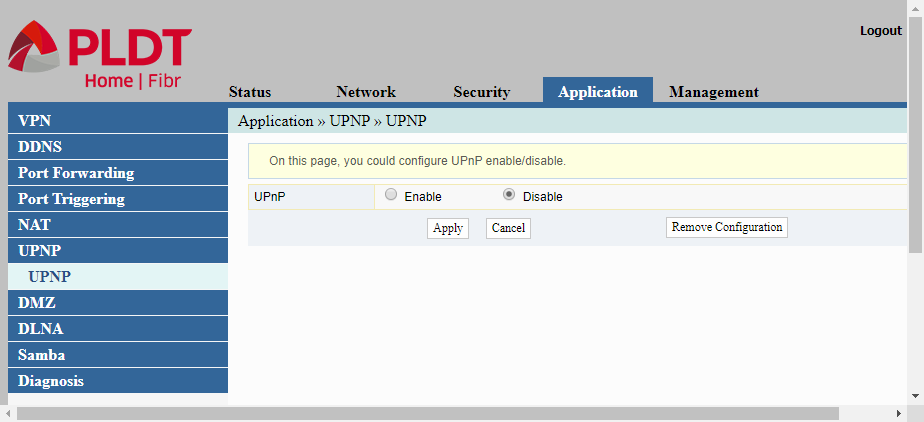
UPNP
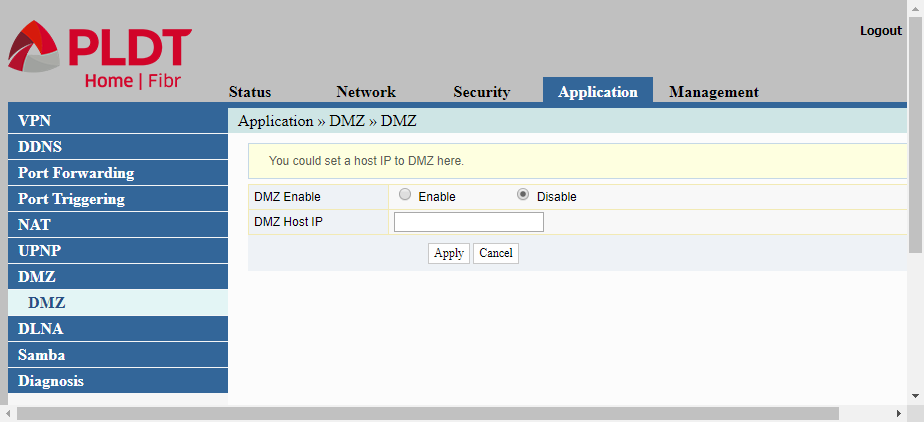
DMZ
DLNA
Samba
Diagnosis

Management
Account Management
User Account
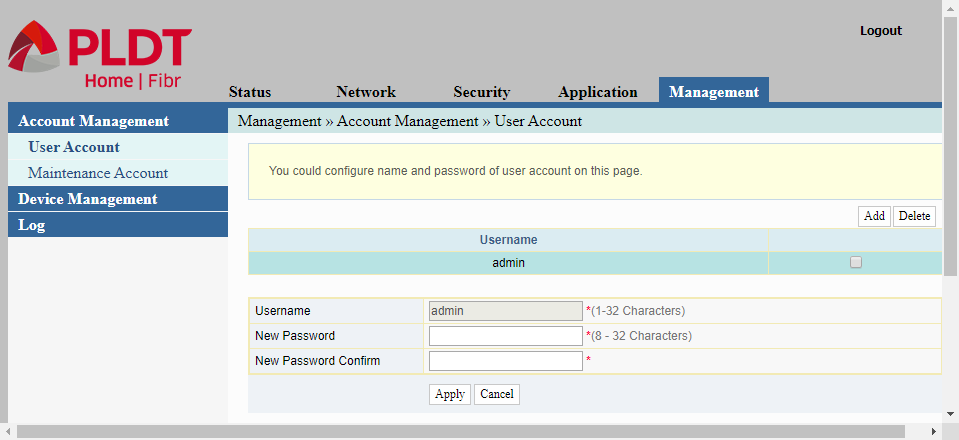
The User Account page under the Device Management menu allows us to change the password for the username “admin”. Take note that the “admin” username cannot be changed. This is the user account that was discussed at the start of this article. This “admin” account has limited access to the router’s configuration. It is mainly used for configuring the wireless LAN or the Wi-fi part of the router.
Maintenance Account

The Maintenance Account page is used to change the password of the “adminpldt” account. This is the account name that you use to get full access to the router’s complete set of configuration options.
Device Management
Restore
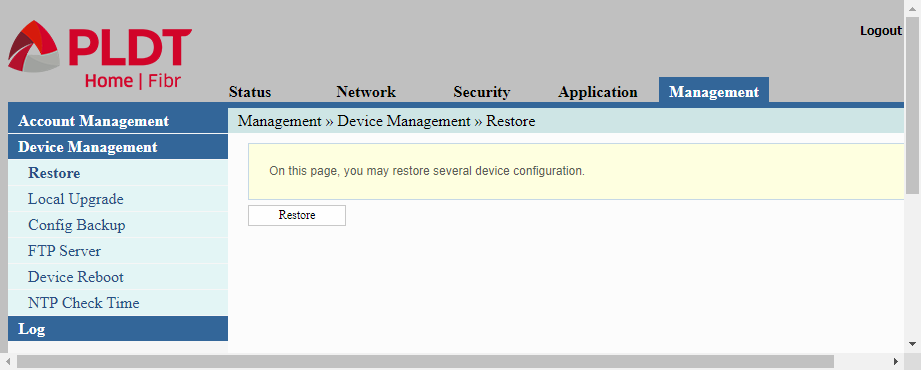
We use the Restore page of the Device Management menu to restore the router’s configuration file that was previously created in the Config Backup page.
Local Upgrade
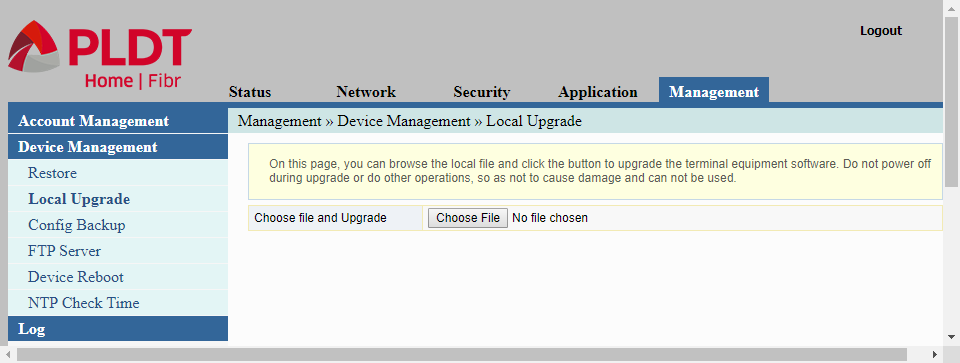
The Local Upgrade page in Device Management is used for upgrading the router’s firmware using a locally available upgrade file.
Config Backup
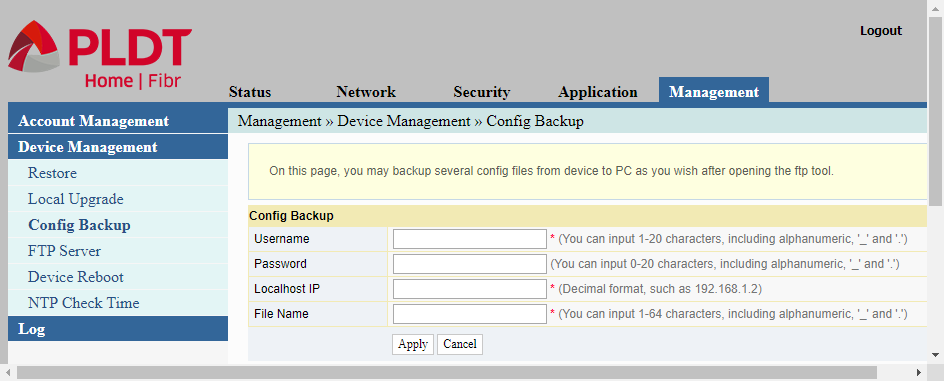
The Config Backup page in Device Management is used for creating a backup of the router’s configuration file. To create the config backup, provide the username and password of a computer in the network where you want to store the backup. Also provide the computer’s IP address and specify a file name for the config backup.
FTP Server

In the Device Management/FTP Server page, we can enable or disable the router’s FTP server.
The router has two (2) USB slots for plugging a storage device like a flash drive or an external hard drive. The connected storage device can be accessed across the network by enabling the router’s FTP server.

Enable the FTP server by clicking the “Enable” button and providing a username and a password. Then click the “Apply” button.
Plug a previously formatted storage device at the back of the router. Open an internet browser and type the address ftp://192.168.1.1 to access the storage device.
Device Reboot
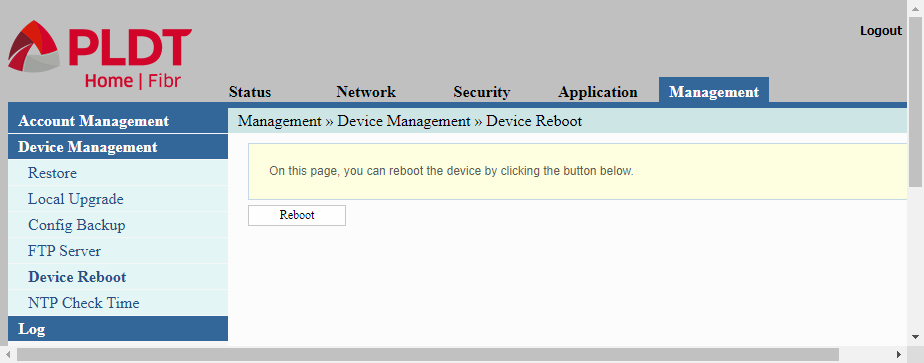
The Device Reboot in the Device Management menu allows us to reboot the router by clicking the “Reboot” button. This allows us to reboot the router remotely instead of physically pushing the power switch at the back of the router.
NTP Check Time
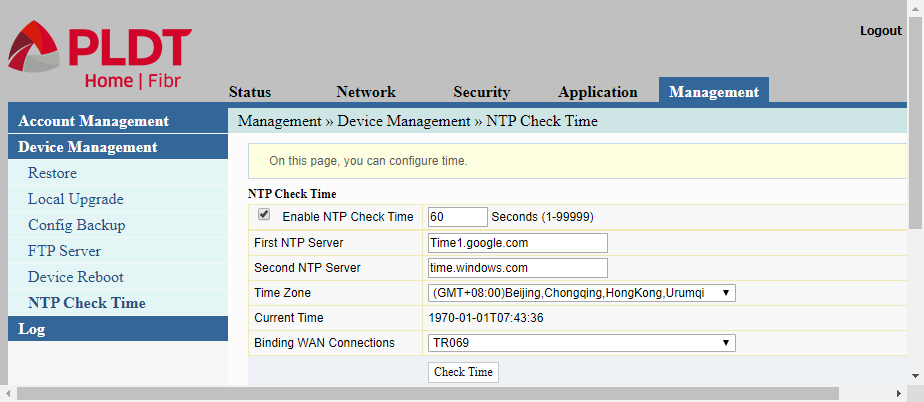
NTP stands for Network Time Protocol. The router contacts the NTP servers listed on this page to synchronize its time.
Log
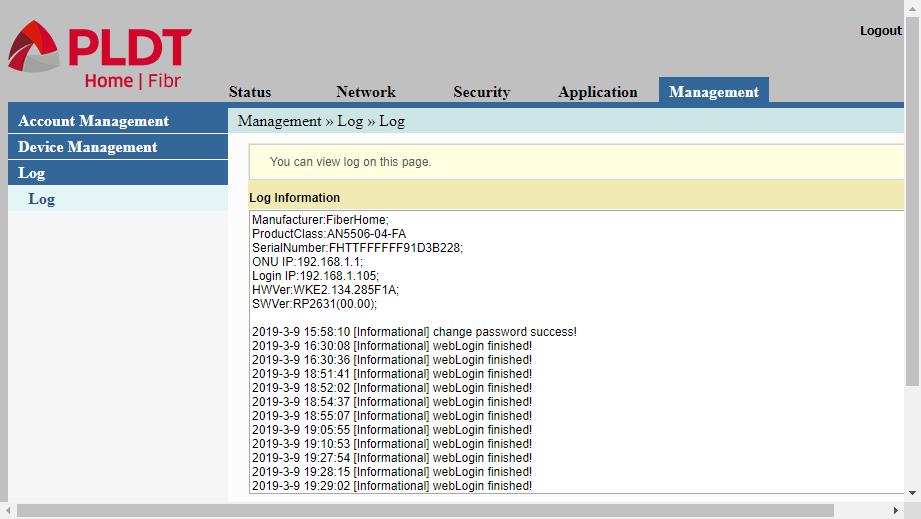
On this page, the Management/Log page, is shown the activity record of the router. This is the last page of the web interface that is used to configure a PLDT router.
Related YouTube Video on How to Configure a PLDT Router
Related Articles on How to Configure a PLDT Router
How to Configure a PLDT Router with Admin Account
Configure a PLDT router using the user account “admin”. This account can only configure the wireless networks (WiFi).
Default Username and Password of PLDT Routers 2019
The latest update on the list of default username and password of PLDT routers.
Default Password of PLDT Routers 2019 Compilation
An updated list of default password of PLDT routers including old, archived passwords used for a period of time in the past.
Default Password of PLDT Router AN5506-04
Default password for PLDT router model AN5506-04 but information included here may apply to other PLDT router models.
Enable Admin Account on PLDT Fibr Router AN5506-04
Learn how to enable the admin account of PLDT Fibr router model AN5506-04 to get a full and unrestricted access to its configuration options.
How to Reset PLDT Router to Defaults
Perform a hardware reset or reset your PLDT router to its original, default factory configuration.
How to Change the IP Address of PLDT Routers
To use a PLDT router on an existing network, there is sometimes a need to change the PLDT router’s IP Address.
How to Change the Wifi Names of PLDT Routers
The default wireless LAN names or WIFI names of PLDT routers are quite long. And so are their default passwords, making it cumbersome to type in.
Hi please advise how to set up QOS
Hi! The username and password is not working.
IP Address: https://192.168.1.1/fh
Username: f~i!b@e#r$h%o^m*esuperadmin
Password: s(f)u_h+g|u
Any advise?
@Mariel,
See the new superadmin username and password: https://cyberblogspot.com/default-username-and-password-of-pldt-routers-2019/
any update for routers in 2020, i have model HG6245D and none of the password listed in 2019 works, thanks!
Try these
Username : f9!6b1e1rhO3es~u!p@e#r$a%d^m*i(n
Password : s)f_U+h|g{u@5h2o1q0b1l
thanks bos
Can I replace my pldt router with a Linksys router?
@Michael
If your PLDT router has a fiber connection you will need to have a Linksys router with the same type of WAN port (ie fiber) or have a copper to fiber media converter. The linksys router should also have to same type of funtionality as the PLDT router.
“An ONU is a device that terminates the PON (Passive Optical Network)and presents customer service interfaces to the user. Some ONUs implement a separate subscriber unit to provide services such as telephony, Ethernet data, or video. An OLT provides the interface between a PON and a service provider’s core network.”
If that’s all Greek to you, then I’d simply say no you can’t.
I know there are valid reasons for wanting to do get rid the the PLDT router, just wondering why you want to do that? Maybe there’s another solution?
definitely no
Hello ,
I’m really a newbie when it comes to all of this and i don’t know if i can replace the router that pldt gave to me. Is ther anyway that you can help me with this problem.
Why did you want to replace it? Did you want to replace it with another fiberhome router?
If you look at the Samba service page, it has no “apply” or “cancel” buttons. (As a side note, neither does the DLNA service page) All the other pages have it except those. When I select the “enable” radio button and then move on to other pages, if I come back to the Samba service page, I can see the “enable” setting has not been saved, nor has the service enabled on the router.
How do I enable to Samba service with the GUI? Or does it have to be configured via CLI (telnet)?
I also don’t see the 2nd USB storage via FTP. USB1 is visible but not USB2 (of course there are two USB drived inserted)
Hello admin. Do you have an article on how to remove CGNAT in PLDT home fibr router?
Pls do reply on my personal email : [email protected]. thank you in advance.
Same question sir do you know how to remove or prevent CGNAT in PLDT
Any way to discover the Loid password and Auth key values on the authentication page? They are 9 characters each, so maybe the account number? With this detail we can replace the OLT with a better one like a Ubiquiti U-Fiber device, and sidestep the cheap limitations of PLDT supplied CPE.
Hello:
Just had PLDT install their FIBR 5G which also includes the 2.4 . I have been trying to connect to my Norton VPN but I am getting a message basically saying that it cannot connect. I can connect to VPN on my cell phone but not on the desktop. I noticed on this post that there is an app that can be used to allow VPN passthrough, but this is really too technical for me. I don’t even see a webpage for PLDT for help. Any suggestions?
Same question here. How to install expressvpn in pldt home fiber router?
I receive “550 Create directory operation failed.” when I connect to ftp server.