
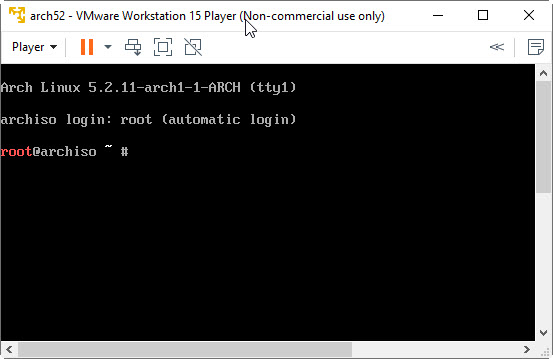
Arch Linux has no graphical user interface (GUI) during installation. In fact, all you will get during installation is a zsh shell prompt as shown in the image below. Therefore, I hope this step-by-step guide on how to install Arch Linux on VMware Workstation Player could make the installation a lot easier.
Step 1 – Partition the hard drive
The first decision to make when installing an operating system is how to partition the hard disk. In Linux, there are different partition schemes we can use:
- All files in one partition – a single big partition for the whole system (“/” or root partition) and a small swap partition equal to the size of the memory. This is actually a two-partition scheme.
- Separate /home partition – a partition for root (/), a partition for /home, and a swap partition. A scheme that uses a total of three (3) partitions.
- Separate /home partition and one or more separate partition for /var, /tmp, /usr, /root, etc. Some people call this the complex scheme. It uses four (4) or more partitions including the swap partition.
To make things simple, we will use the two-partition scheme. We will partition a 30GB disk into a 28GB root (/) partition and a 2GB swap partition.
First, run the following command in a terminal window to start the partitioning process:
# fdisk /dev/sda
For a step-by-step procedure, see: How to Partition a Disk in Linux with fdisk.
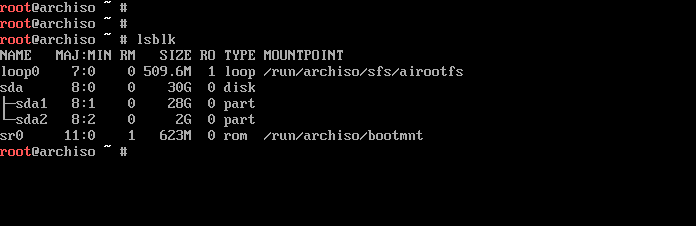
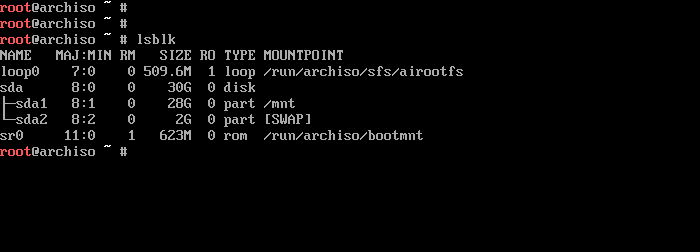
The output of the command lsblk below shows the 30GB hard disk sda partitioned into a 28GB sda1 and a 2GB sda2, after completing the command fdisk /dev/sda above.
Step 2 – Format and mount the partitions
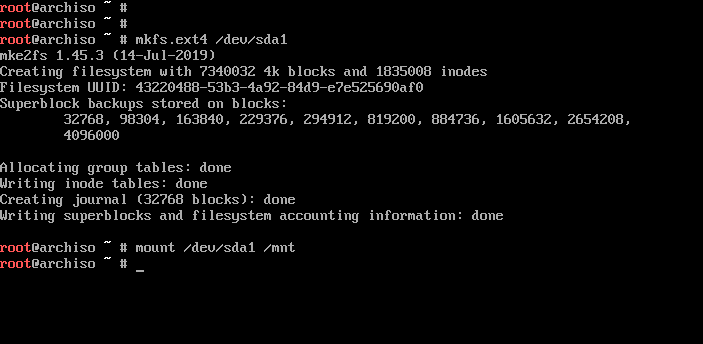
The next step is to format and mount the first partition sda1.
# mkfs.ext4 /dev/sda1
# mount /dev/sda1 /mnt
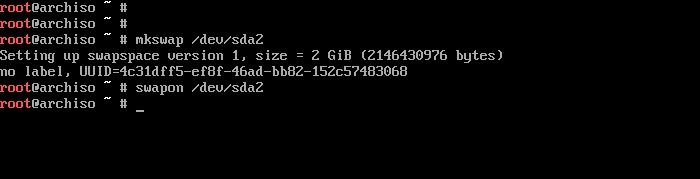
Then, we turn the second partition sda2 into a swap partition and subsequently, enable it.
# mkswap /dev/sda2
# swapon /dev/sda2
If we want to make sure if everything is going on right up to this point, we use the command lsblk again. As can be seen below, sda1 has been mounted on /mnt and the swap partition is already enabled.
Step 3 – Download and install the base distribution packages
Now we are ready to download and install the base distribution packages (does not include the GUI interface yet). But first, we have to make sure we have an internet connection. Type the command below:
# ping -c 4 www.google.com
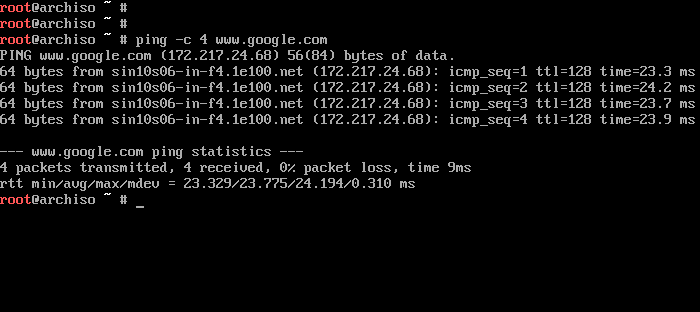
We sent four (4) packets to google and it responded accordingly, so we are good.
Also, we have to modify the file /etc/pacman.d/mirrorlist. This procedure could make a big difference on how fast we could download the distribution packages . Moreover, we could avoid being flooded with error messages. This is because one of the mirrors in the list is not serving the data anymore (in case you have the same mirrorlist that I had).
As a background information, the mirrorlist contains the list of servers around the world serving the Arch Linux distribution packages. When we start the download process, the downloader uses the first server on the top of the list. If the server turns out to be slow, maybe because of the server’s geographical location, the downloader will not switch to another faster server. The downloader will only switch to the next server on the list if it encounters an error. As a result, we may end downloading from a very slow server, making a few minutes of download turn into a couple of hours of waiting.
On my first try at installing Arch Linux, I unwittingly skipped this very important procedure. The result: it took me approximately two hours and a half (2.5 hours) to download a mere 1GB of data on a 40 Mbps fiber connection. What was supposed to be a few minutes of download turned into a two-hour-plus nightmare. Moreover, my terminal display was flooded with error messages because the first server on the top of the list, http://mirror.netweaver.uk, was not serving the distribution packages anymore.
To check the status of a mirror, go to https://www.archlinux.org/mirrors/status/
Therefore, we definitely need to modify the mirrorlist before proceeding. We should make sure that the servers geographically near us is at the top of the list. We can do this without actually moving the names by simply commenting out the lines preceding the server(s) we want to use (put a hashtag sign, “#”, at the beginning of the lines). Below is a screenshot of the top part of the mirrorlist.

To modify the mirrorlist, we run the command:
# nano /etc/pacman.d/mirrorlist
After saving the modified mirrorlist, we can now download and install the base packages.
# pacstrap /mnt base base-devel

Step 4 – Configure the new installation
Step 4A – Generate the configuration file fstab
Generate an fstab to be appended to the existing fstab file located in /mnt/etc/fstab.
# genfstab -U /mnt >> /mnt/etc/fstab
The fstab (file system table) is a configuration file containing file systems and their mount points. It is located in /etc/fstab in the new system.

Before continuing with the configuration, we chroot to the newly installed system.
# arch-chroot /mnt

Take note that the prompt changed when we chroot-ed with the command arch-chroot. It indicates that we are now inside the newly installed system, and, as also shown by the prompt, we are in the new system’s root (/) directory. All the subsequent system commands will now run in the context of the newly installed Arch Linux system that we are currently configuring.
Step 4B – Set the time zone and set the hardware clock from the system clock
Create a symbolic link to the zoneinfo and synchronize the real time clock (hardware clock or BIOS clock) from the system clock.
# ln -sf /usr/share/zoneinfo/<Region>/<City> /etc/localtime
# hwclock --systohc
The time zone configuration file is /etc/localtime. It is a symbolic link to a specific file in /usr/share/zoneinfo.
The command hwclock –systohc creates /etc/adjtime. It contains information on the time drift of the hardware clock.

Step 4C – Set localization
We will need to generate a compiled localization file (/usr/lib/locale/locale-archive). In order to do this, we must first un-comment the locale identifier that we need in the file /etc/locale.gen. For example, if we want to localize in English particular to the US and use the UTF-8 characters, we need to open the file /etc/locale.gen and remove the hashtag (#) from the line #en_US.UTF-8 .
# nano /etc/locale.gen
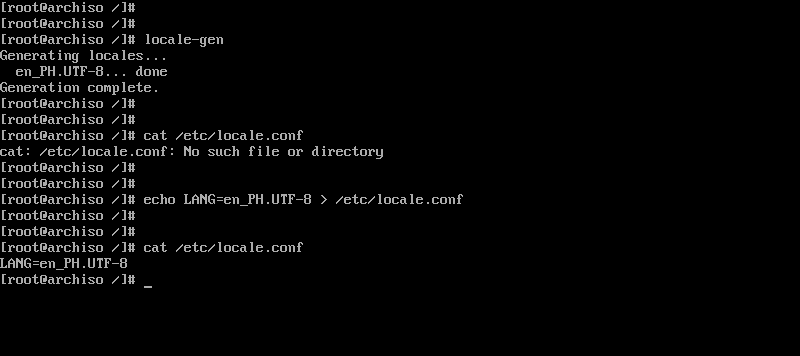
After saving the changes to /etc/locale.gen, run the command locale-gen.
# locale-gen
This will generate the file /usr/lib/locale/locale-archive.
Afterwards, create the file /etc/locale.conf defining the LANG variable.
# echo LANG=en_PH.UTF-8 > /etc/locale.conf
Step 4D – Configure Network
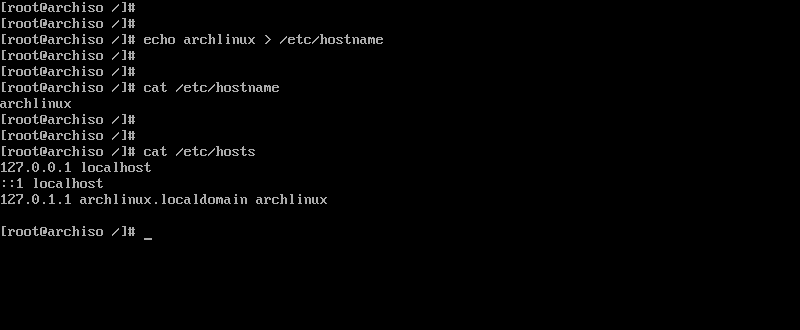
Create the file /etc/hostname containing the host name or computer name to be assigned to this system.
# echo archlinux > /etc/hostname
Next, append the file /etc/hosts with the following texts:
127.0.0.1 localhost
:: 1 localhost
127.0.1.1 myhostname.localdomain myhostname
The file /etc/hosts, contains a mapping of IP addresses and hostnames. This file is the first place where programs look for when trying to resolve the IP address of a certain host.
# nano /etc/hosts
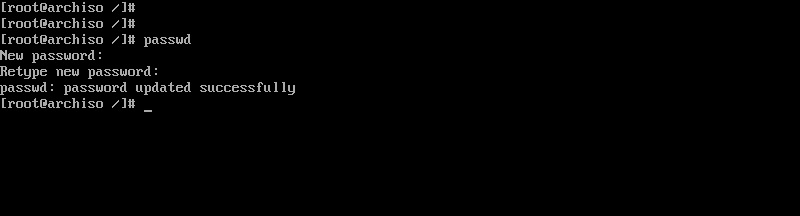
Step 4E – Set the root password
In this step, you will be prompted for a new password.
# passwd
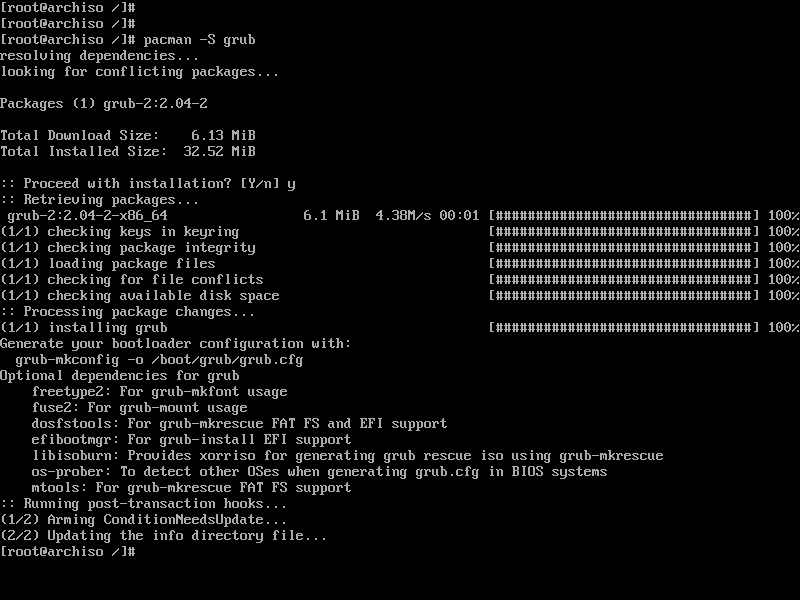
Step 4F – Download and install the boot loader
Download the grub boot loader.
pacman -S grub
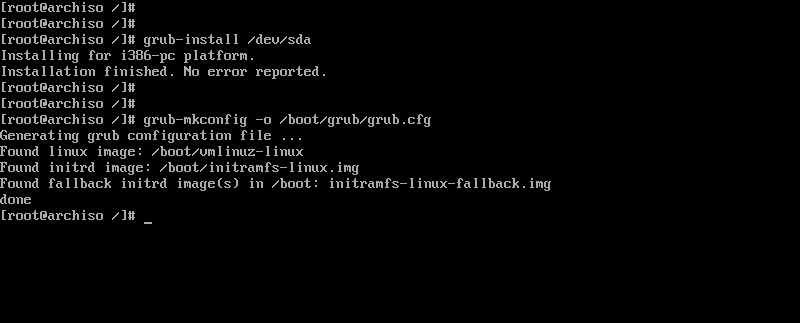
Install the grub boot loader.
grub-install /dev/sda
grub-mkconfig -o /boot/grub/grub.cfg
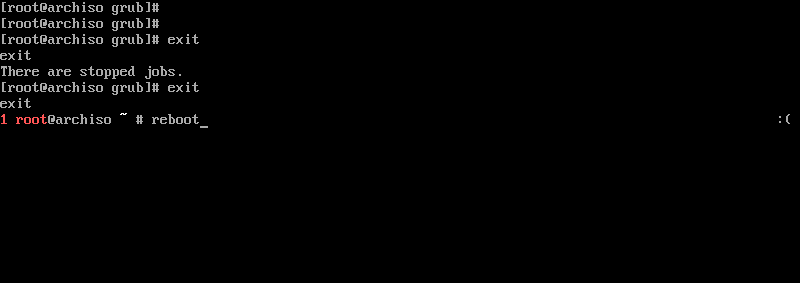
Step 5 – Reboot
Type the command “exit“. Then type the command”reboot“. See the output sample below.
# exit
# reboot
Step 6 – Network configuration, part two
The previous steps that we have followed so far are based on the official Arch Linux Installation Guide. But after the first reboot, if we test for an internet connection just as we did in Step 3 above, we will find out that we have lost our internet connection.
# ping www.google.com

Something is still missing!
The solution here can be found in the guide on systemd-networkd: https://wiki.archlinux.org/index.php/Systemd-networkd
We need to configure the installed network service systemd-networkd. Identify first the device name of the LAN adapter:
# ip link
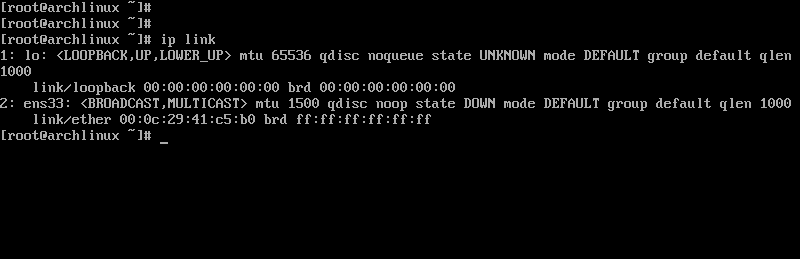
In my case, my network adapter is name ens33. Create a file name <adaptername>.network in /etc/systemd/network, where adaptername is the name of the network adapter.
# nano /etc/systemd/network/ens33.network
Place the following entries in the file and save the file.
[Match]
Name=ens33
[Network]
DHCP=ipv4
Next, we will create the configuration file /etc/resolv.conf.
# nano /etc/resolv.conf
Type in the following text and save the file:
nameserver 8.8.8.8
nameserver 8.8.4.4
The systemd-networkd configuration is done, so we start the service. To automatically start the service at boot time, enable the service.
systemctl start systemd-networkd
systemctl enable systemd-networkd
Step 7 – Download and install gnome desktop
Download and install xorg and gnome desktop.
# pacman -S xorg xorg-server
# pacman -S gnome gnome-extra
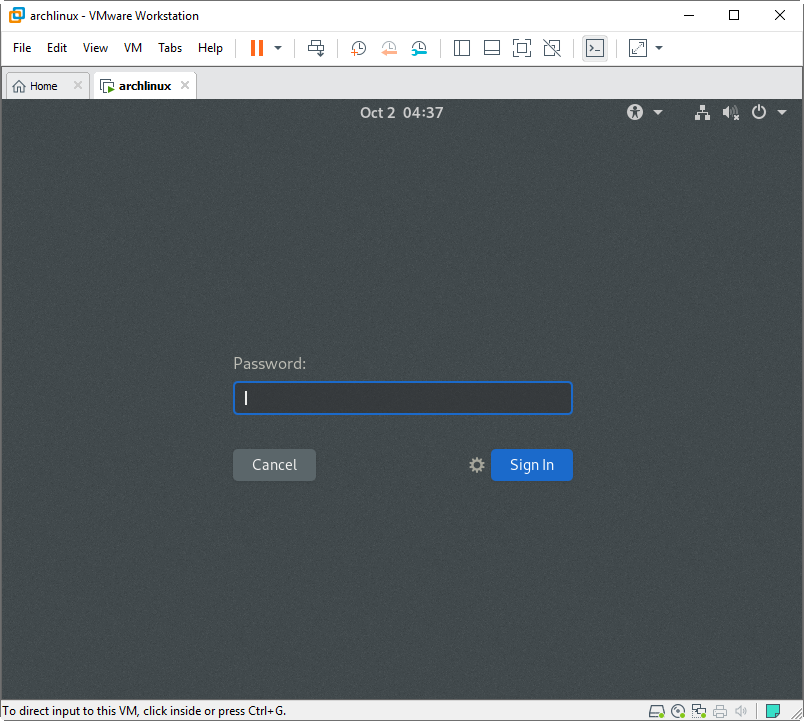
Run systemctl enable gdm.service to make gnome desktop load after booting. And then, systemctl start gdm.service to bring up the gnome login screen.
# systemctl enable gdm.service
# systemctl start gdm.service
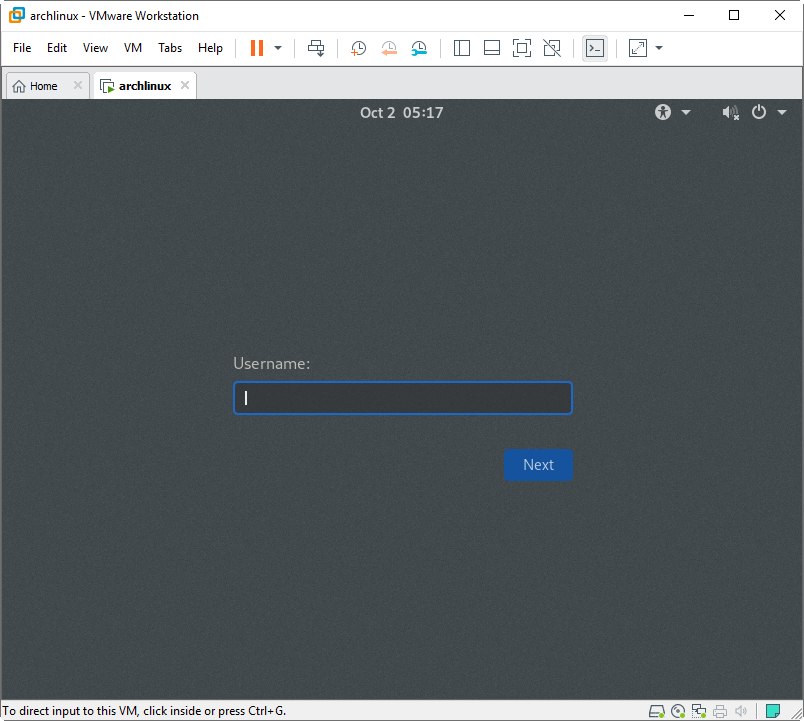
We now have the gnome login window.
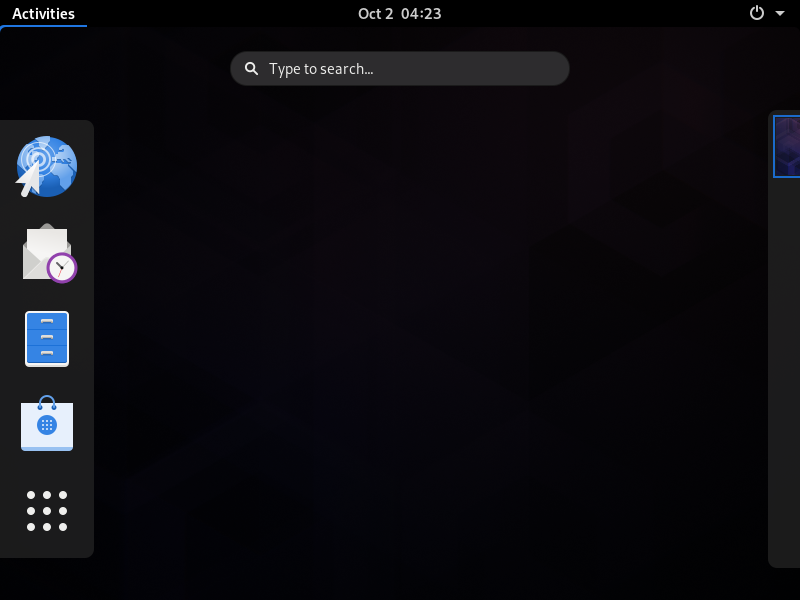
And the gnome desktop.
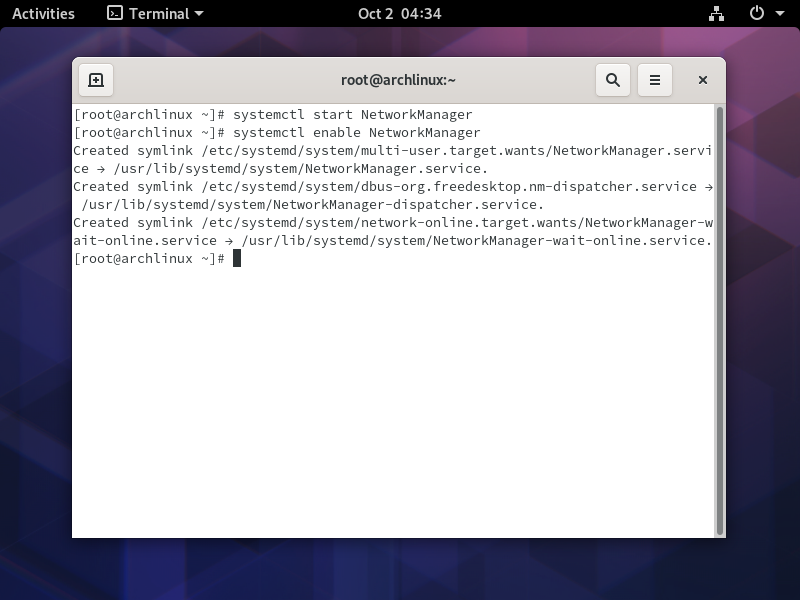
But going on to the network setup, there seems to be a problem.

Gnome installed NetworkManager to be used for managing the network but it still has to be started and enabled. Open a terminal windows and type in the commands:
# systemctl start NetworkManager
# systemctl enable NetworkManager
Great job! Now, enjoy your new Arch Linux!
What to Do Next
After a successful install of Arch Linux, VMware Tools is generally installed next in order add useful features such as copy and pasting and file sharing between host and guest computers. Please refer to:
How to Install VMware Tools in Arch Linux
this is the 2nd time i am installing arch i followed above installing guide after restarting the vm, i was promoted to grub menu i have no idea how to go ahead