To host a secure HTTPS website in GoDaddy, you need to install an SSL certificate. Unfortunately, GoDaddy does not provide a free SSL certificate for their shared web hosting plans. However, if you want a free SSL certificate, you can use an SSL certificate issued by Let’s Encrypt.
First, to get a free SSL certificate, follow the link on How to Get a Free SSL Certificate for GoDaddy. It is a complete guide on how to acquire a free Let’s Encrypt SSL certificate. Then I will show you how to install the SSL certificate in GoDaddy.
This tutorial uses a free Let’s Encrypt SSL certificate as an example. Still, this tutorial is applicable with other SSL certificates issued by third party certificate authority. At the same time, this tutorial is not only for GoDaddy subscribers. This may also apply to other websites using cPanel as their web server manager.
Standard SSL Certificate Files
SSL certificates use different encoding schemes. But many Certificate Authority (CA) issue SSL certificates in PEM format. While other formats such as DER format use binary encoding, PEM uses Base64 ASCII encoded files. That is, PEM formatted files are text files. You can use any text editor to view their contents.
PEM encoded certificates use files with extensions of .pem, .crt, .cer, or .key. Although it is possible to package the whole SSL certificate in a single file, it is usually stored in two separate files. The main SSL certifcate is usually placed in a .pem, .crt, or .cer file. Then a separate .key file holds the corresponding private key.
Let’s Encrypt SSL Certificate Files
On a newly installed Ubuntu version 22.04.1 LTS, you may not be able to open the letsencrypt directory because the “Open as Administrator” option does not show up on the menu when you right-click on the directory. You may need to install the nautilus-admin. On the Terminal window, execute “sudo apt install nautilus-admin“.
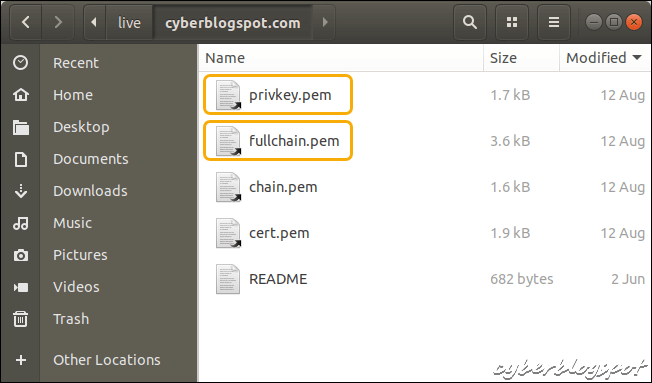
If you used Certbot to retrieve a free Let’s Encrypt certificate, Certbot stored the SSL certificate files in /etc/letsencrypt/live/your-domain-name. Please refer to the screenshot below.
There are four (4) certificate files in the directory, but we are interested only on the two (2) files. The files are fullchain.pem and privkey.pem. While the fullchain.pem stores the main SSL certificate, privkey.pem contains the private key for the SSL certificate.
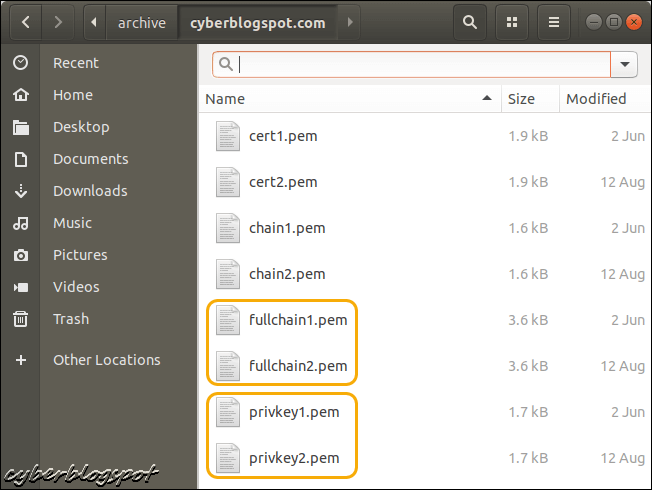
Note that the certificate files in /etc/letsencrypt/live/your-domain-name are actually file shortcuts or symbolic links. The actual SSL certificate files reside in /etc/letsencrypt/archive/your-domain-name. Kindly refer to the next screenshot.
Looking at the image below, you can see that there are two SSL certificates here. These are the fullchain1.pem and the fullchain2.pem. Also, they come with their respective private keys, privkey1.pem and privkey2.pem.
Fullchain1.pem was my first SSL certificate. Later, when the SSL certificate was about to expire, I renewed the certificate, giving me fullchain2.pem. So, I guess that on my next renewal, I will get a new SSL certificate named fullchain3.pem. In short, certificates stored here are named sequentially.
Now, do you remember the file shortcuts in /etc/letsencrypt/live/your-domain-name? The file shortcuts there point to the latest SSL certificate files. Prior to my renewal, when I only had fullchain1.pem, the shortcut fullchain.pem was pointed at fullchain1.pem. After the renewal, fullchain.pem was already pointing to the new file, fullchain2.pem. Similarly, all the shortcut files were already pointing to the second certificate files. That is, shortcut privkey.pem pointing to privkey2.pem, shortcut cert.pem pointing to cert2.pem, and lastly shortcut chain.pem pointing to chain2.pem.
In the following instructions on how to install SSL certificate in GoDaddy, we will use the above Let’s Encrypt SSL certificate as an example.
Step 1 – Open the SSL/TLS tool in GoDaddy’s cPanel
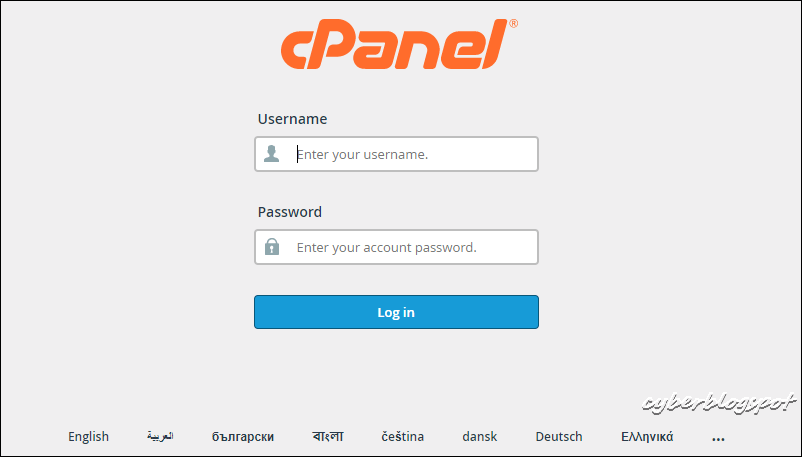
There are several ways to open GoDaddy’s cPanel. First, you can type your-domain-name/cpanel on the address bar of an internet browser. For example, I can open my cPanel by typing cyberblogspot.com/cpanel on my Google Chrome browser.
But I do not open the cPanel this way. The reason: I have a hard time memorizing the system-generated Username GoDaddy assigned to me!
Remember that your cPanel username and password are different from your GoDaddy web hosting account username and password. You can find your cPanel login credentials (username and password) inside your GoDaddy hosting account (My Hosting Dashboard).
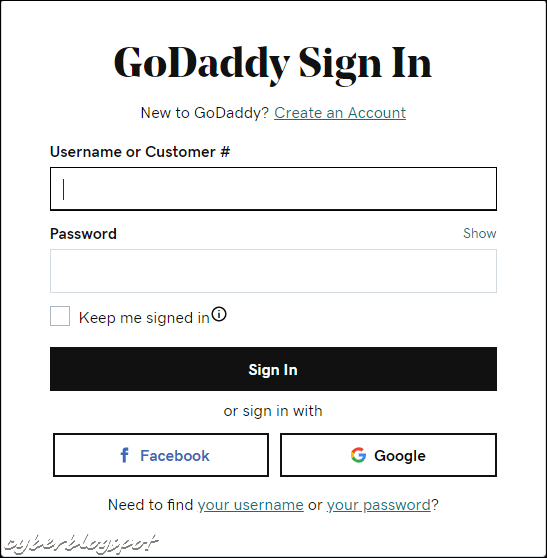
The alternative way to open the cPanel is to log in to your GoDaddy web hosting account. There is a link on the web hosting dashboard for opening the cPanel.
Go to www.godaddy.com and log in with your web hosting credentials. Here, you can use your GoDaddy-provided Customer Number. Otherwise, use the Username that you provided when you signed up with GoDaddy.
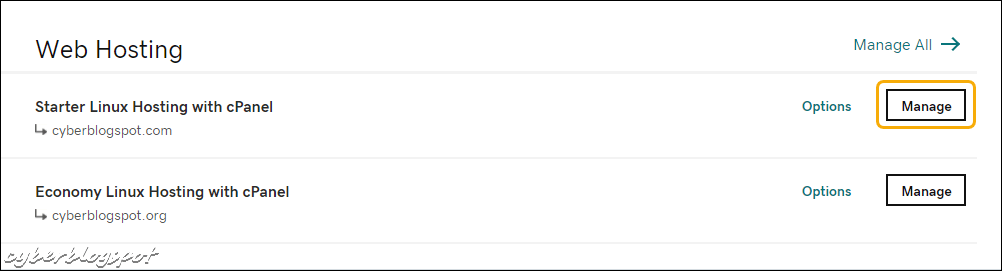
Once inside GoDaddy’s My Account page, click the Manage button on the Web Hosting domain that you will be installing an SSL certificate.
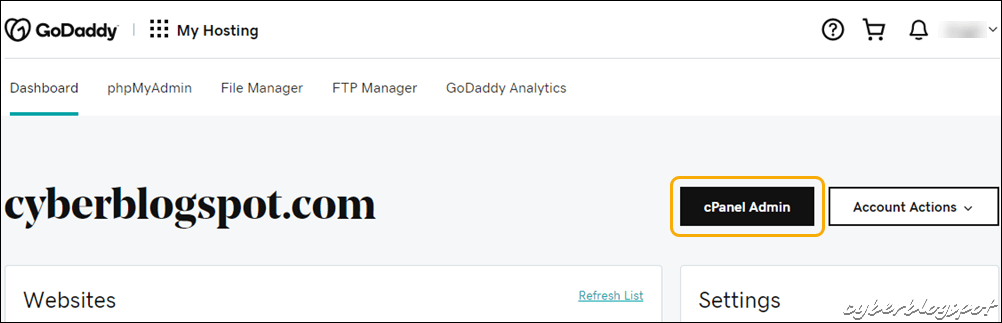
On your My Hosting Dashboard, click the cPanel Admin button.
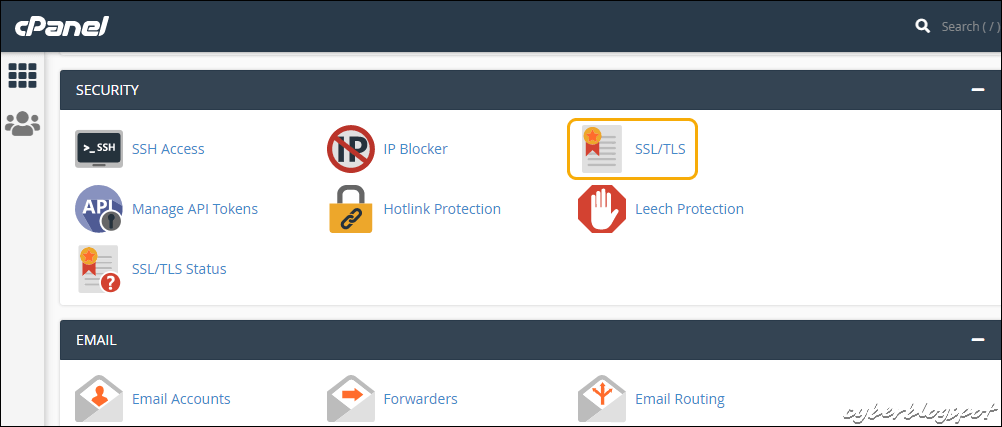
On the cPanel, first, scroll down and look for the Security tools. Then, click on the SSL/TLS link.
Step 2 – Upload the SSL certificate’s private key
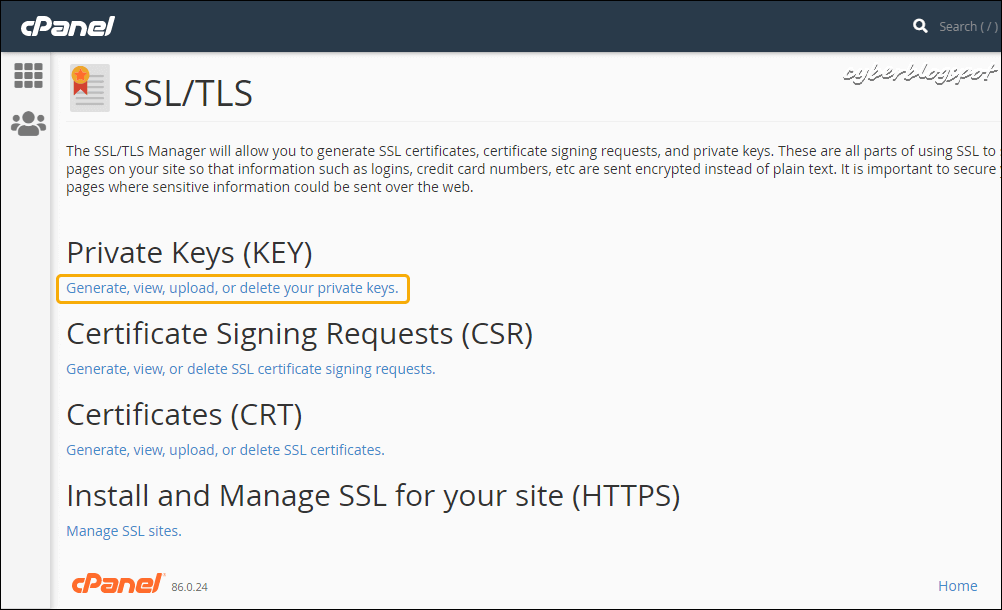
On the SSL/TLS window, click the link that says: Generate, view, upload, or delete your private keys.
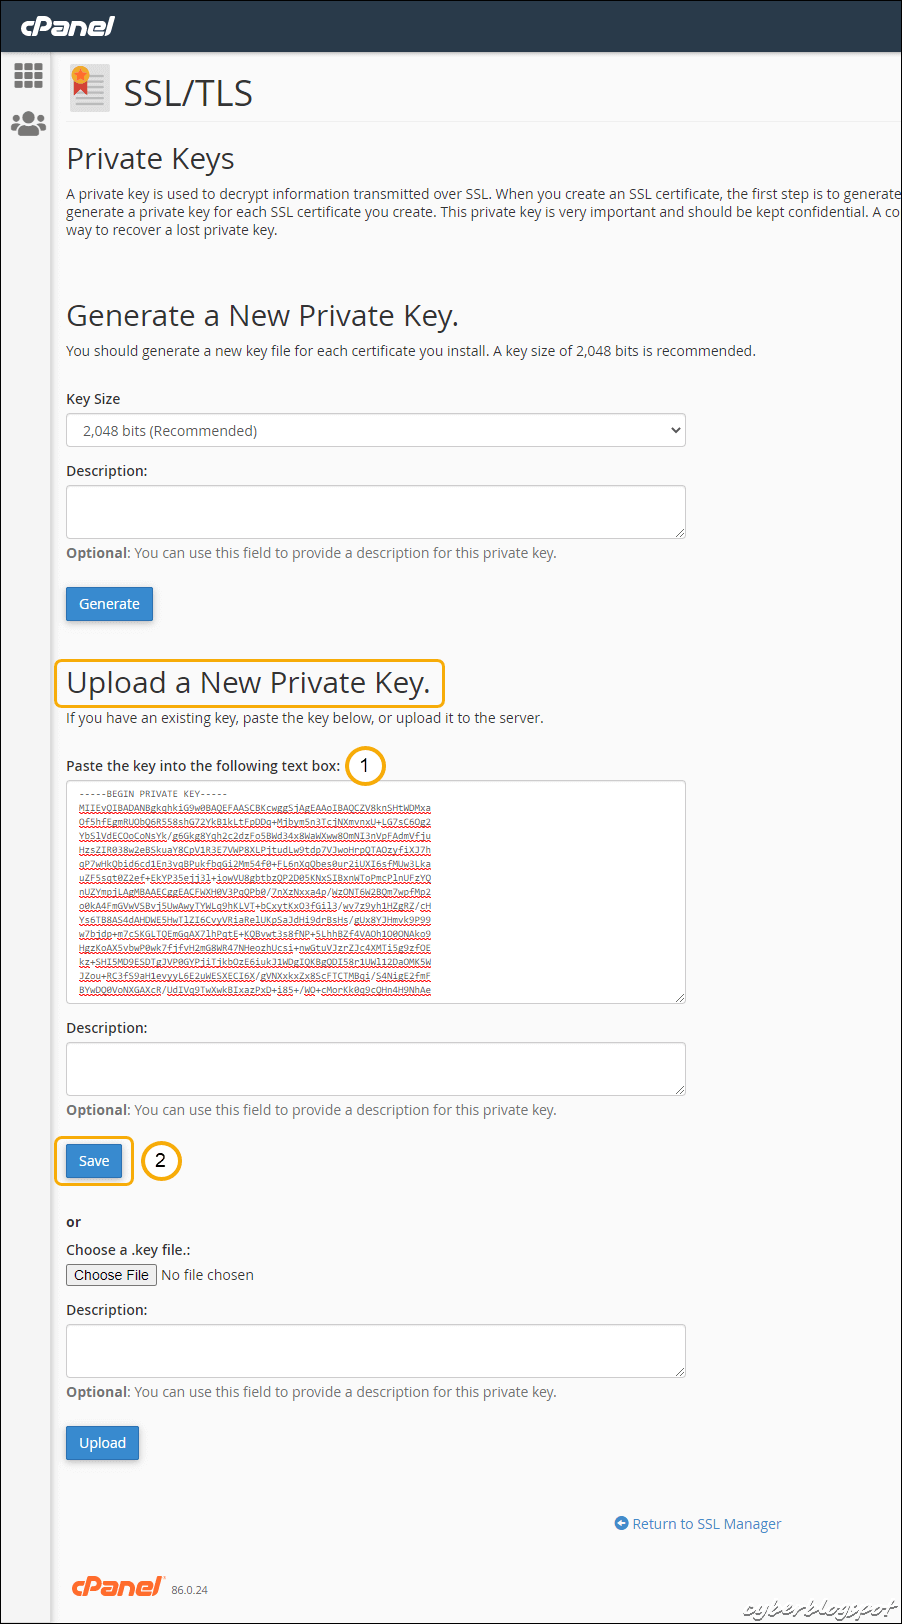
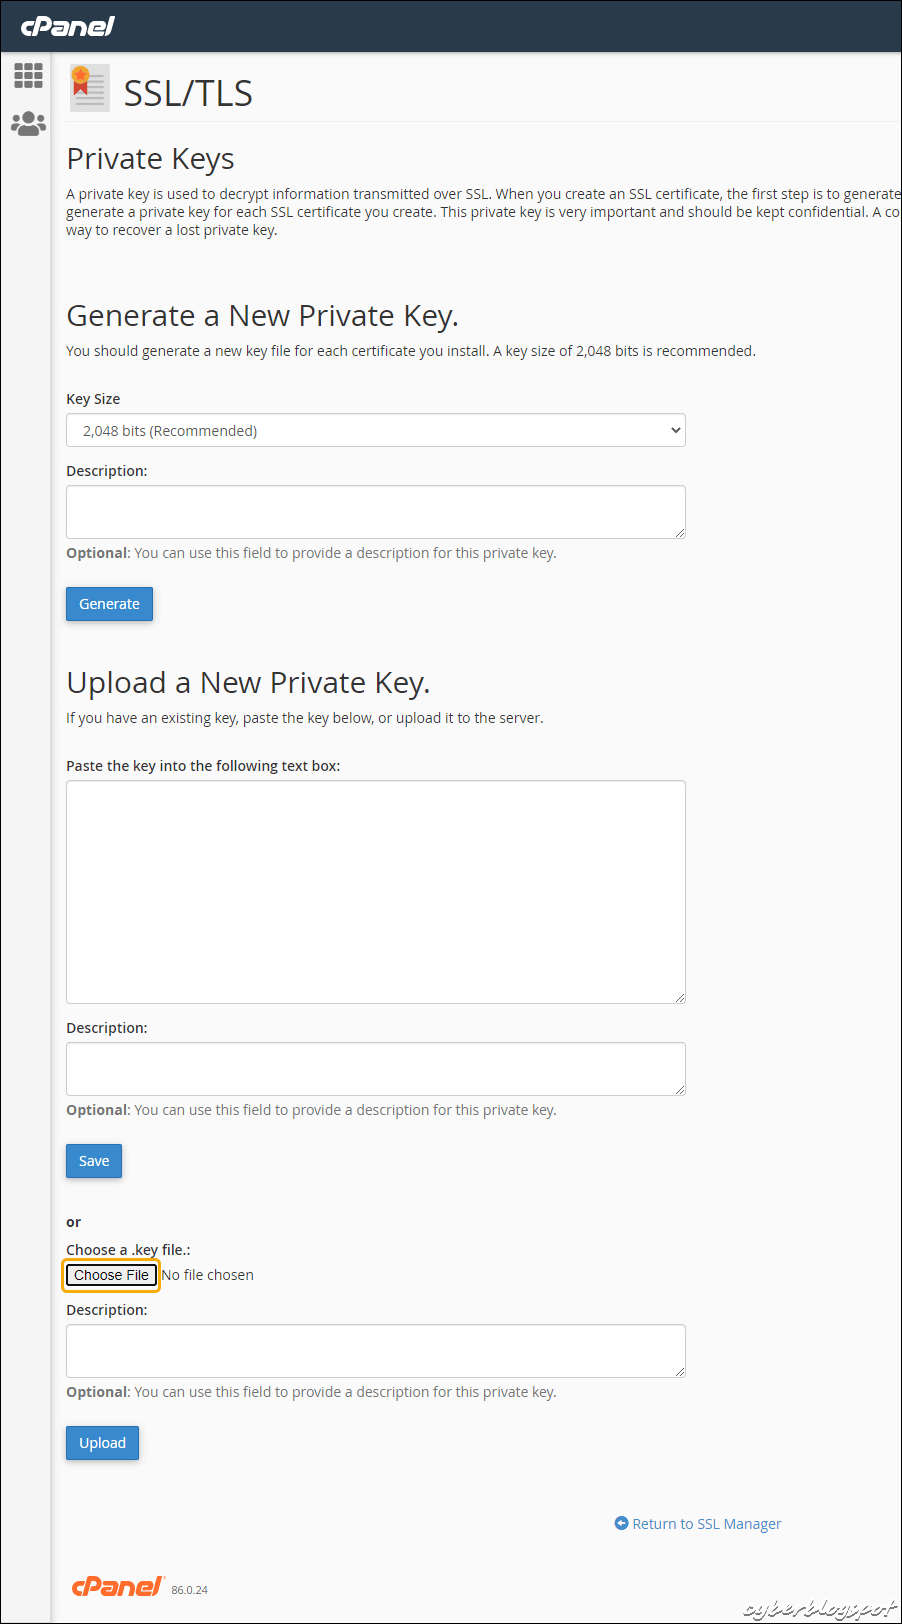
Study the screenshot below. What we want to do is to upload the private key of the SSL certificate. In our example Let’s Encrypt SSL certificate, we want to upload the private key file privkey.pem to the server.
We can upload a private key file in two ways. We can copy the contents of the file and paste it in the provided text box. Or, we can upload the file by browsing for the file and selecting it. Let us take up the first procedure first.
Open the private key file. In case of the Let’s Encrypt privkey.pem, it is a text file, so you should be able to open it with a text editor. In Windows, you can open it with Notepad. Copy the contents of the file and paste it in the provided text box. You may enter an optional description, if you want. Then, click on the Save button. See the annotated screenshot below.
After clicking on the Save button, you should see the image below.
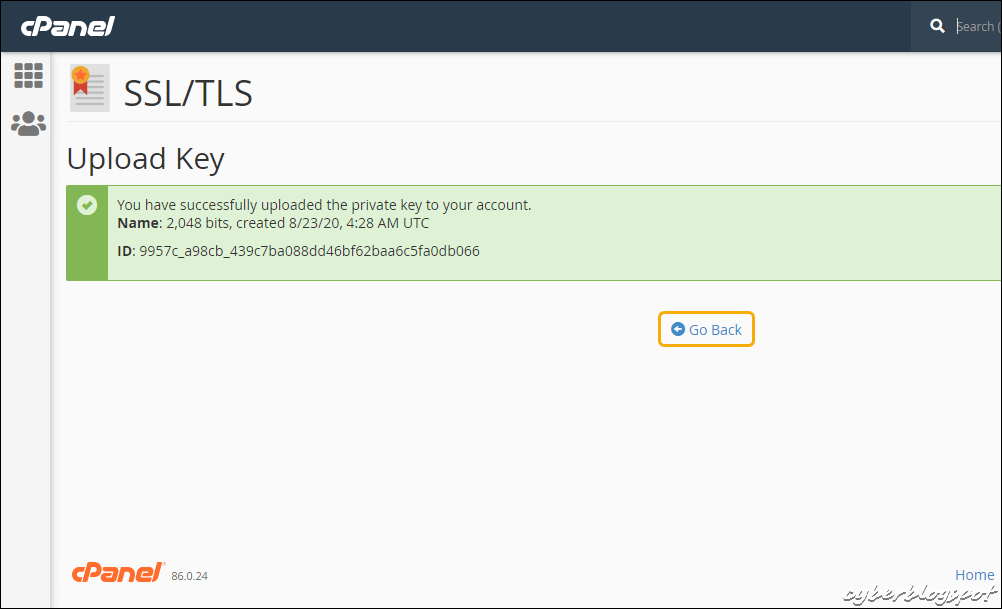
Then, a message that you successfully loaded the private key. Close the message window by clicking the Go Back button.
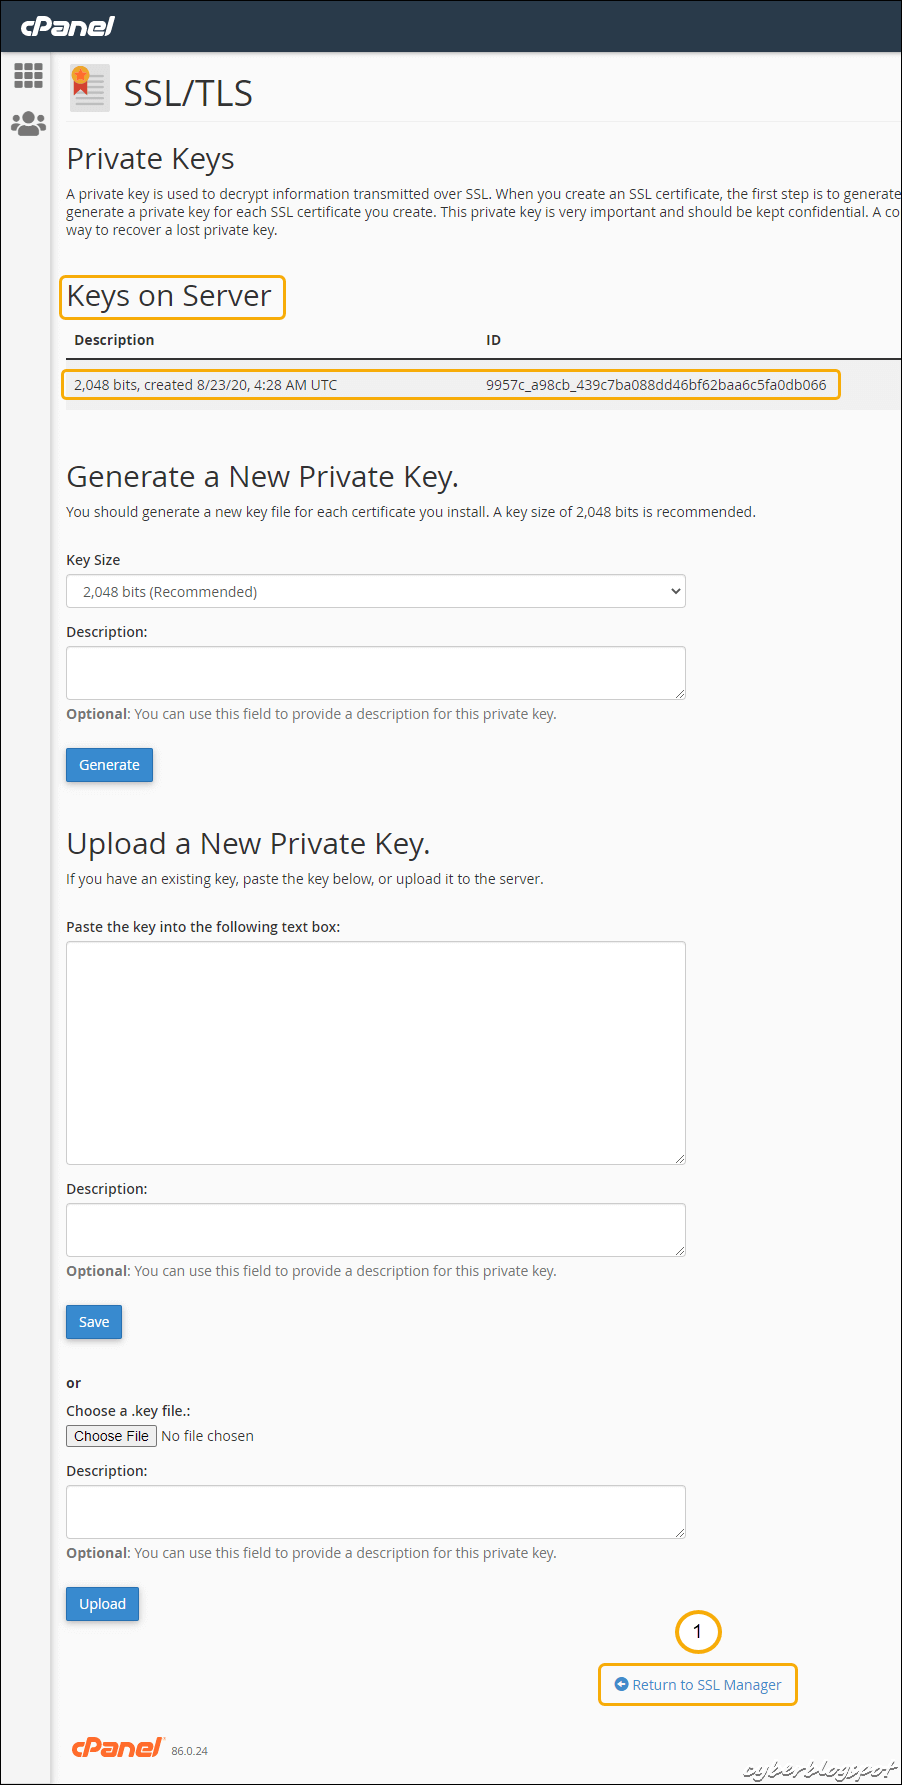
When you get back to the SSL/TLS Private Keys window, you should see a Keys on Server list. Moreover, you should see the newly uploaded private key included in the list. Click the Return to SSL Manager button.
Alternative way of uploading the SSL private key
Let us now look at the alternative way of uploading the SSL certificate’s private key. Instead of copying and pasting the private key, we will upload the private key by browsing and selecting the private key file.
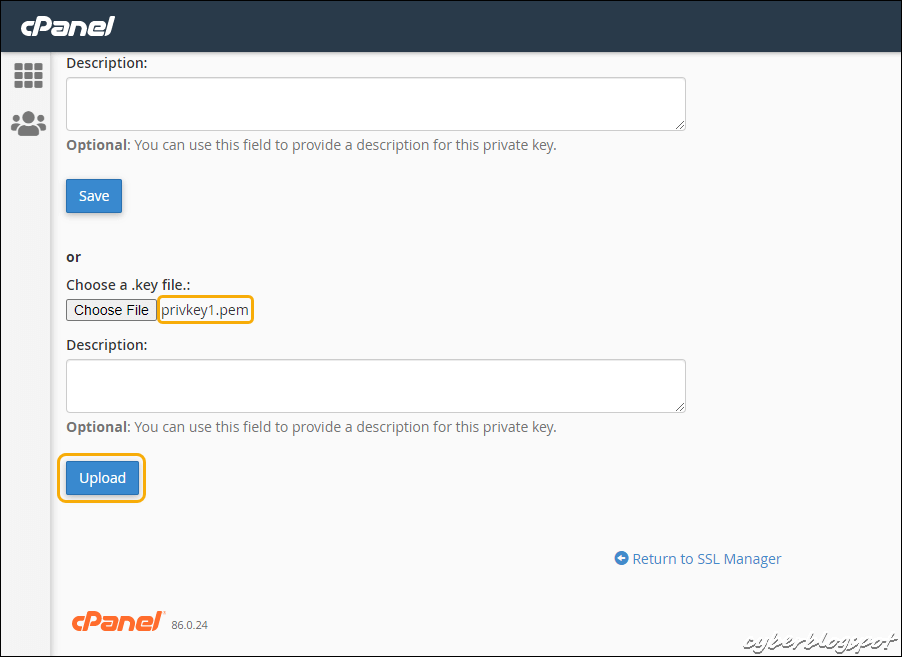
On the SSL/TLS Private Keys window, click the Choose File button. Take note that above the Choose File button, it says choose a .key file. In our case, our private key file is in a .pem type file. This is not a problem because a .pem file is a text file, much like a .key file.
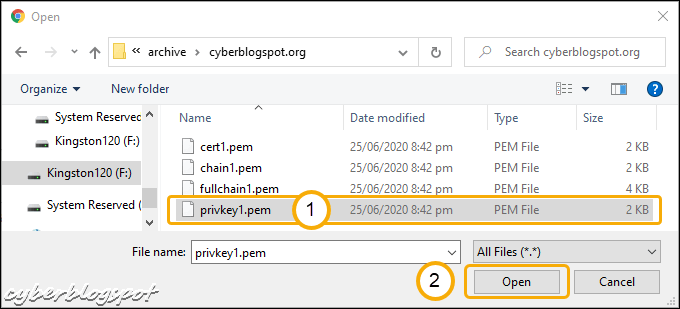
After clicking on the Choose File button, we get a file browser window. First, find the private key file. Next, click on the private key filename to select it. Finally, click the Open button.
When the file browser window closes, verify that the private key file was selected. Then, click the Upload button.
What follows next after clicking the Upload button is the same as the previous procedure shown above. See the above procedure for uploading the private key by pasting.
Step 3 – Uploading the main SSL certificate file
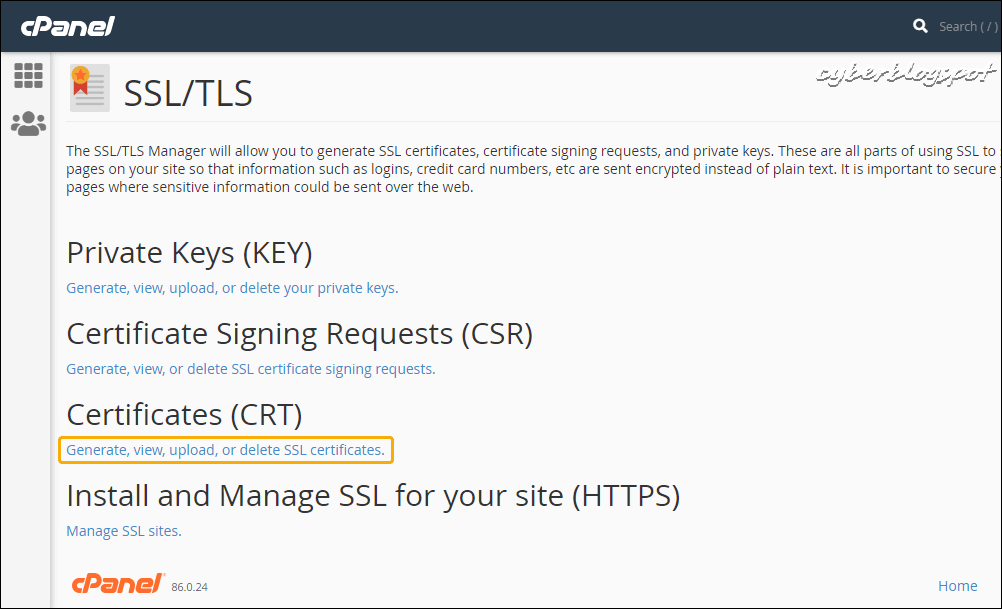
On the SSL/TLS window, click on the Generate, view, upload, or delete SSL certificates link.
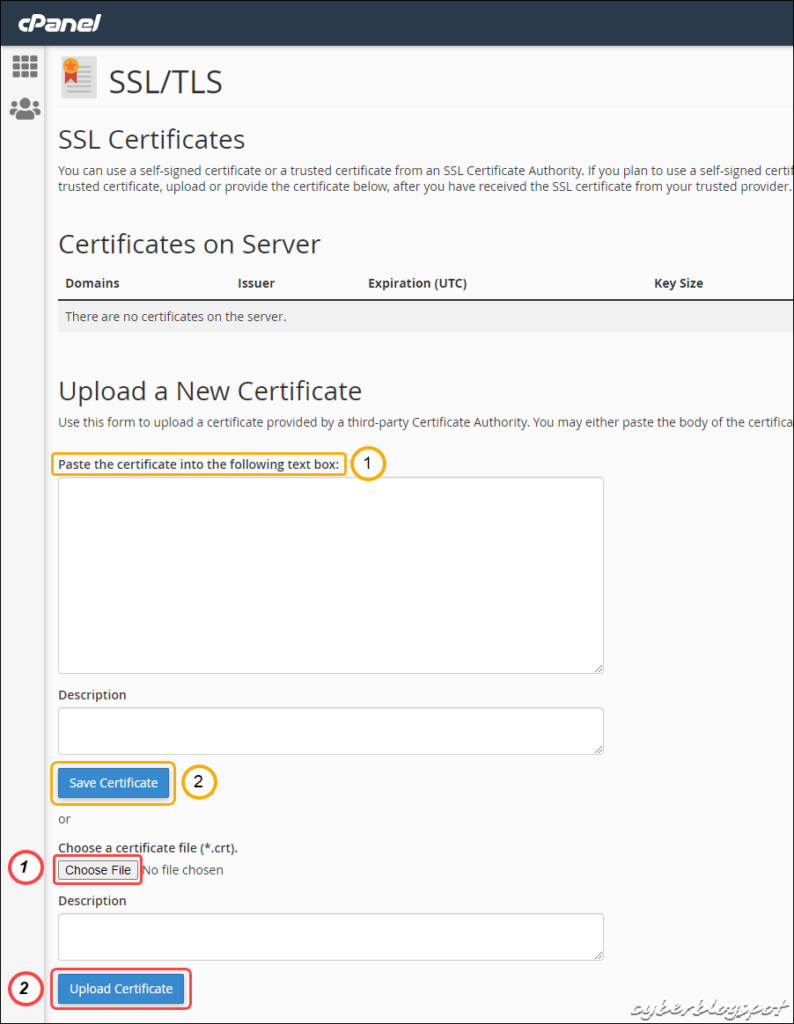
On the SSL Certificates window, you have two (2) options in uploading the certificate. This is the same as uploading a private key. It is either you paste the SSL certificate or browse the SSL certificate and select it. Refer to the screenshot below.
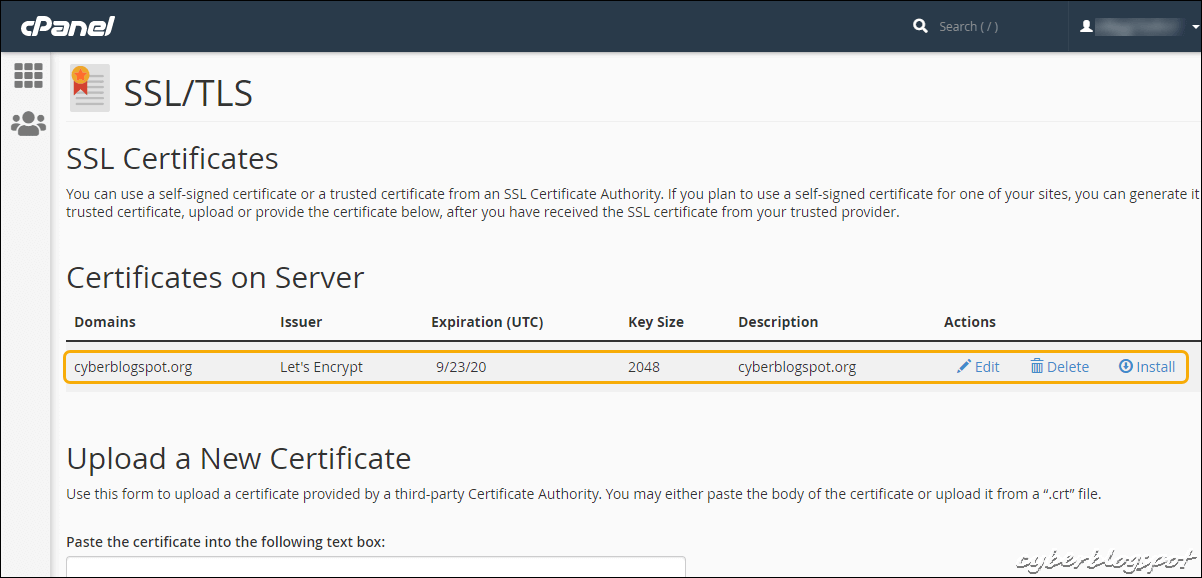
After a successful upload, you should see the SSL certificate included in the Certificates on Server list.
Step 4 – The actual installation of the SSL Certificate in GoDaddy
After uploading the private key and the SSL certificate, we are now ready to install the SSL certificate.
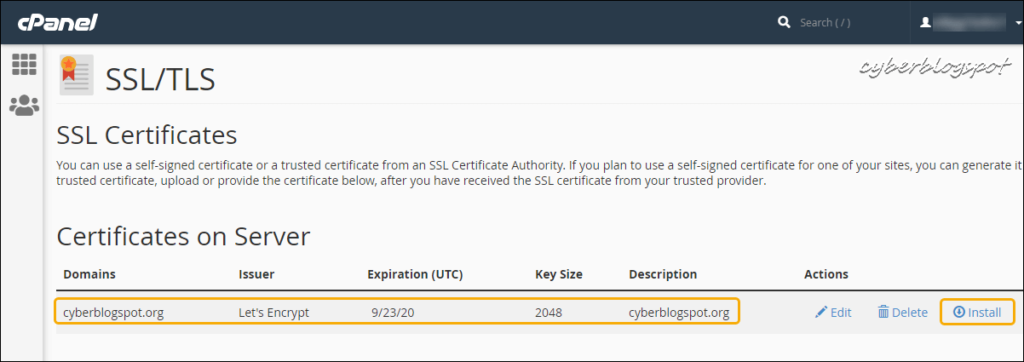
Once the SSL certificate has been uploaded, it should be listed on the Certificates on Server list, as shown below. Now, to install the certificate, click the Install button under the Action column of the list.
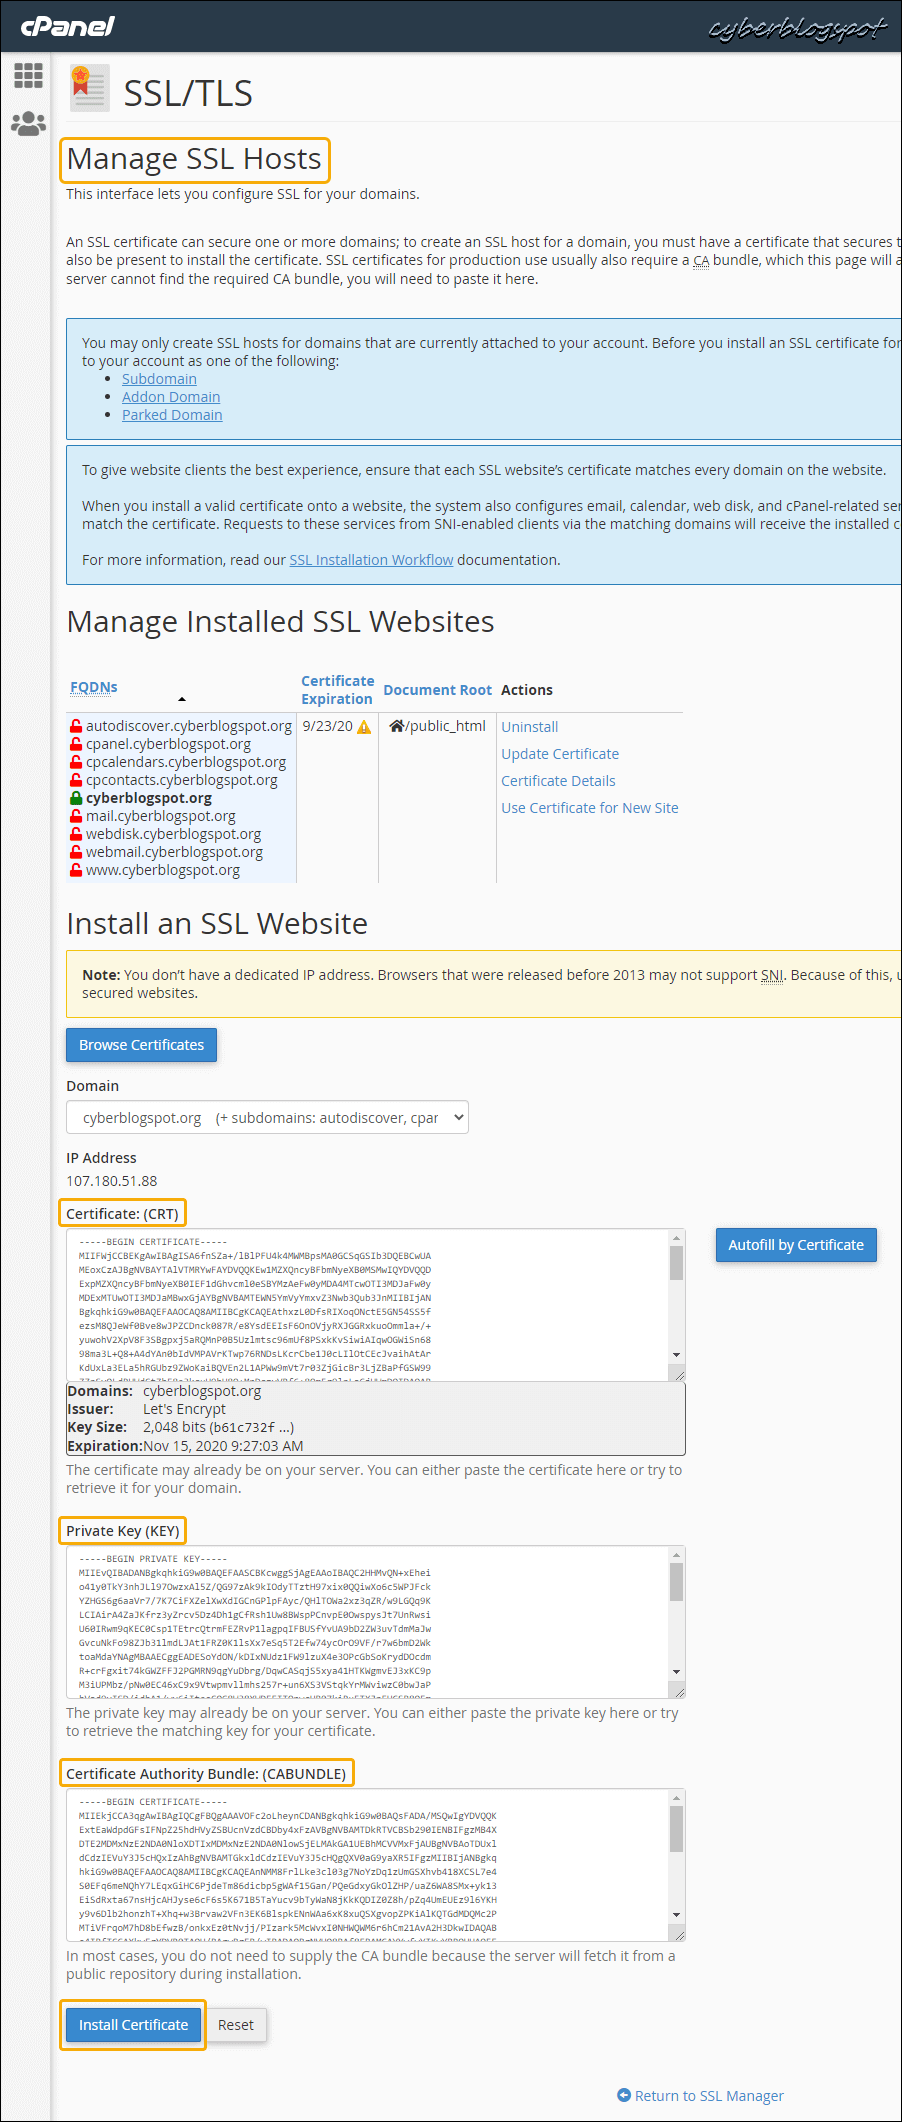
Clicking on the Install button will bring you to the Manage SSL Host page of the SSL Manager. You will notice that the text boxes for the Certificate, the Private Key, and the Certificate Authority Bundle have all been filled up. Click on the Install Certificate button.
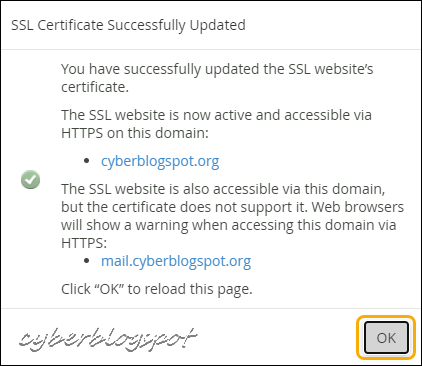
A confirmation message will appear with a successful installation of the SSL certificate. Click on the OK button to close the message window. And that’s it. We now have our SSL certificate installed in GoDaddy.
Summary of How to Install SSL Certificate in GoDaddy
To install an SSL certificate in GoDaddy, use the SSL/TLS tool in GoDaddy’s cPanel. First, upload or paste the private key. Then, upload or paste the main certificate. Finally, install the certificate.